
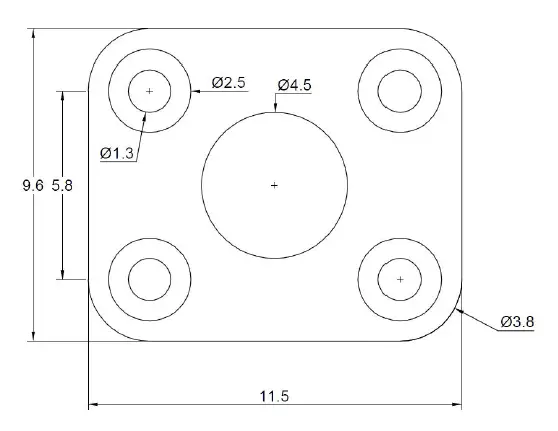
Today we will daw a rectangle with rounded corners and 9 circles, all in a way to replicate the figure below. On Day #2, we learned how to draw lines with precise directions and dimensions.
Today, we will learn how to use the FILLET command.

Step A
Draw a rectangle of width 11.5 and height 9.6. You should get something like this:

Step B
Give the corners of the rectangle the right shape using the FILLET command.
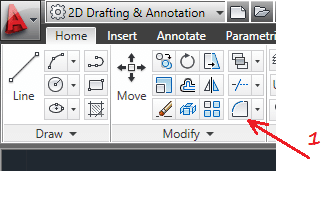
1 – Click on FILLET icon
2 – You should be able to read this in the command window:
Current settings: Mode = TRIM, Radius = 0.0000
3 – Select first object or [Undo/Polyline/Radius/Trim/Multiple]: r
4 – Specify fillet radius <0.0000>: 1.9
5 – Select first object or [Undo/Polyline/Radius/Trim/Multiple]: Select the first line
6 – Select the second line
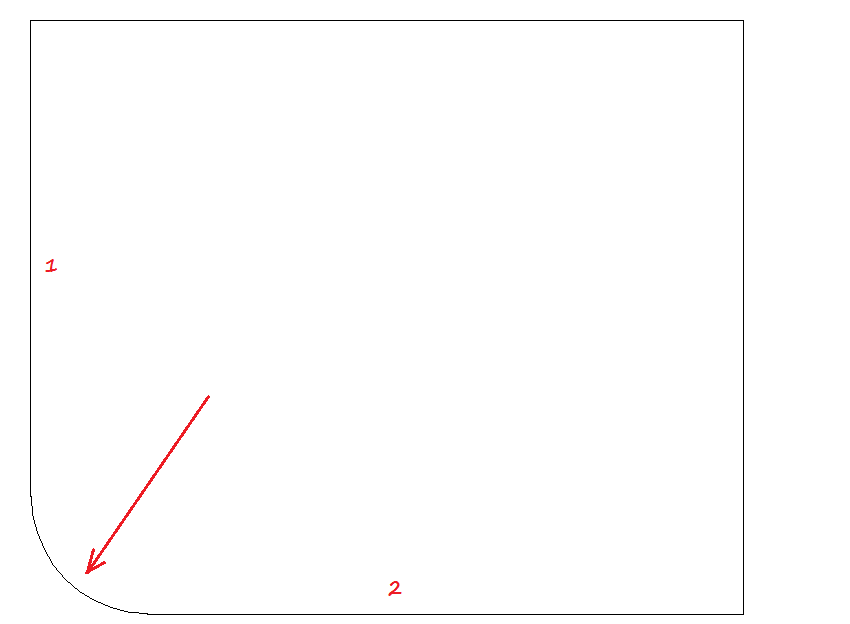
If you started from the corner indicated on the image above, the 2 lines you must have selected would be line 1 and 2. Do the same thing for other corners but you will now omit steps 2, 3 and 4. Click on the FILLET icon and select the lines. You should get this:

Step C
Click on the RADIUS icon and draw circles.
If you click on the RADIUS command, make sure the Object Snap mode is activated, bring the cursor closer to where you want to draw the circle, and a point should appear thus allowing you to snap the center of your circle at the right place. This works because if those rounded corner were circles their center will be at the same point with those circle we are about to draw.
When the CIRCLE command is activated, if you bring the cursor near that area this is what should happen:
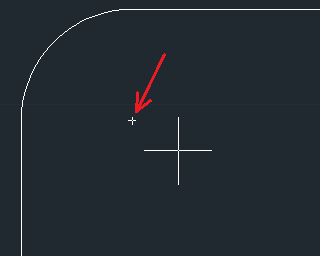
Therefore, I can easily find the center of my circle using this technique.
Step D
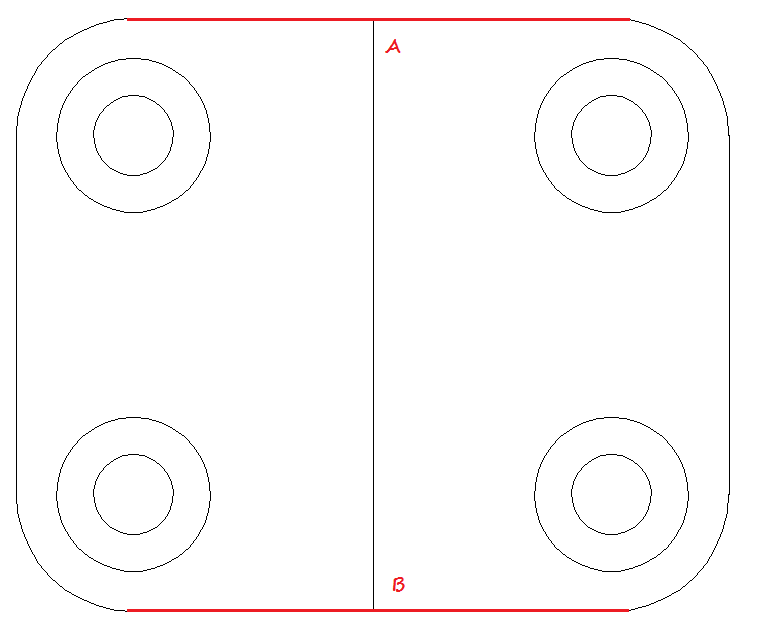
Draw a line from point A to point B. Point A is the center of its specific red line and the same applies for point B. Now, activate the CIRCLE command and draw the last circle from the center of the line we just drew from point A to B. Remember to delete this line at the end of this process.
This brings us to the end of this exercise. I hope you learned something today. If this exercise helped you, please like, share, and comment.
Check out AutoCAD Exercise Day #6.

[ws_table id=”3″]
Leave a Reply