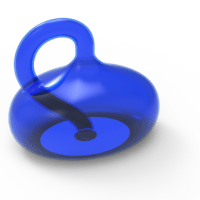
A klein bottle is a closed surface with only one side, formed by passing one end of a tube through the side of the tube and joining it to the other end. (Definition from Google).
Here is a tutorial where you will learn how to draw a klein bottle in AutoCAD.
I will suggest you go through these AutoCAD exercises before jumping into this tutorial if you have not done so.

You can learn more about the klein bottle on wiki
How to draw a klein bottle in AutoCAD
Step 1
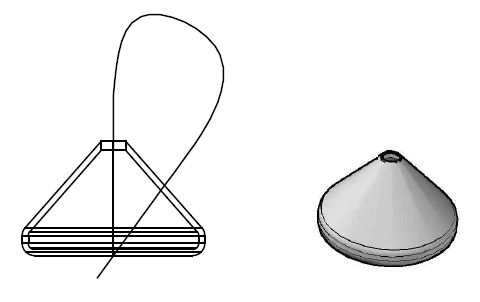
We will need to start from the 2D figure below.
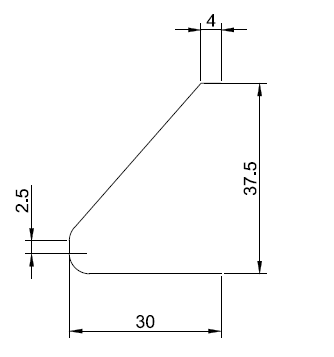
Feel free to take random values to design your own version of the klein bottle. The objective in this post is to understand how to use commands and how to go about drawing this whole bottle in AutoCAD.
step 2.
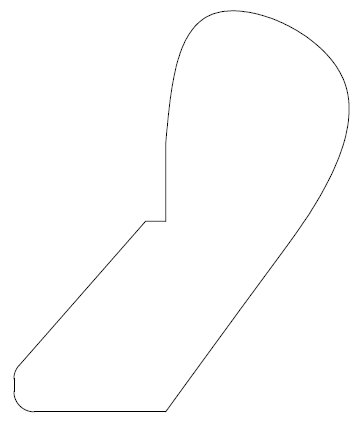
Draw the curve that will serve as a path for the bottle’s tube. You can use the SPLINE command to draw the path.
step 3
Use the OFFSET command to get the following figures. You will need to TRIM afterward in order to obtain the figure to the right.

Step 4
Use the REVOLVE command to get the down part of the bottle using the part we’ve just drawn. Do not forget to use the REGION command on this part before using the REVOLVE command. it should look like this:
Step 5
Use the EXTEND command to get the bottom part of the path a little longer. We want the tube to totally come out on the bottom side of the bottle. On the figure above, you will notice that the length of the path has been extended a little downward.
Now draw a circle of R=4, and Use the SWEEP command to sweep it along the path.
Step 6
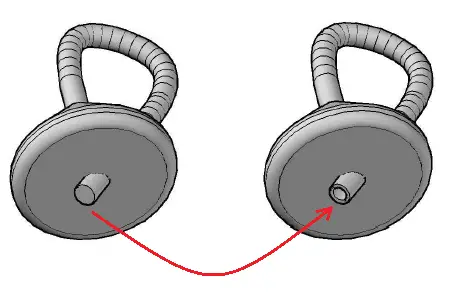
What You want to do now is to SUBTRACT that first tube from the bottle itself such as getting this:
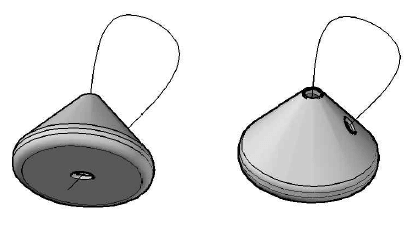
Step 7
Redo the same to get another tube similar to the one on step 5
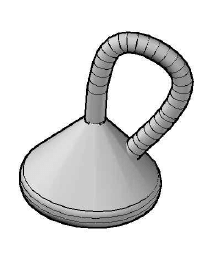
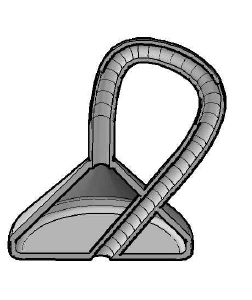
Step 8
Now we will need to use the SHELL command on the tube to have it look like this:
You may need to learn more about the SHELL command in AutoCAD if you have difficulties completing this step.
step 9
This is the trickiest part. We need to get rid of that portion of the tube exceeding off the bottom of the bottle.
To do that, simply draw a box right under the bottle and subtract the it from the tube.
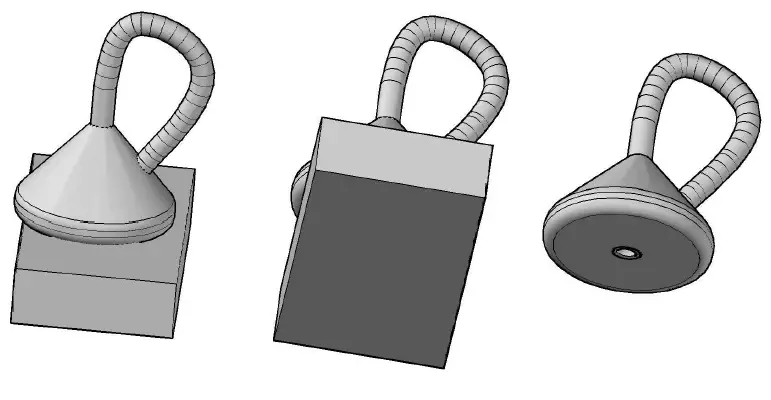
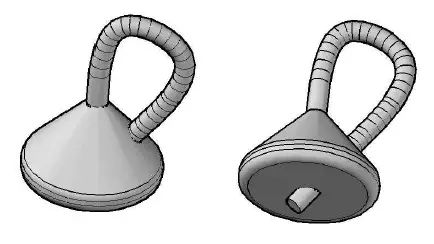
Step 10
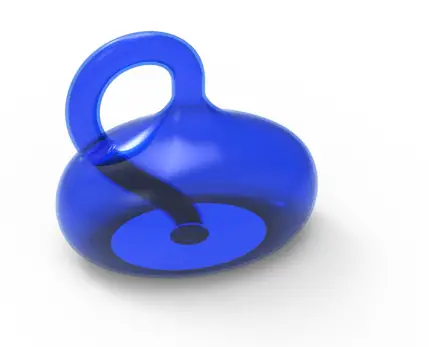
Now you just have to use the UNION command and add the tube to the bottle to make a complete klein bottle.
Leave a Reply