Exploded views in SolidWorks are highly used in design/ideas presentation in 3D modeling/assemblies. An exploded view shows an assembly’s components spread out, but positioned to show how they fit together when assembled. This will allow presenting an assembly in a brief and quick manner, showing all components and ordering them as you want to show and assemble step by step.
You create exploded views by selecting and dragging parts in the graphics area, creating one or more explode steps. In exploded views you can:
- Evenly space exploded stacks of components (hardware, washers, and so on).
- Radially explode components about an axis.
- Drag and auto-space multiple components.
- Attach a new component to the existing explode steps of another component. This is useful if you add a new part to an assembly that already has an exploded view.
- If a subassembly has an exploded view, reuse that view in a higher-level assembly.
Step-by-Step Tutorial of Exploded View in SolidWorks
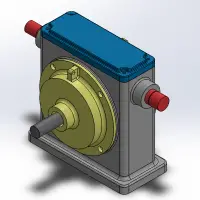
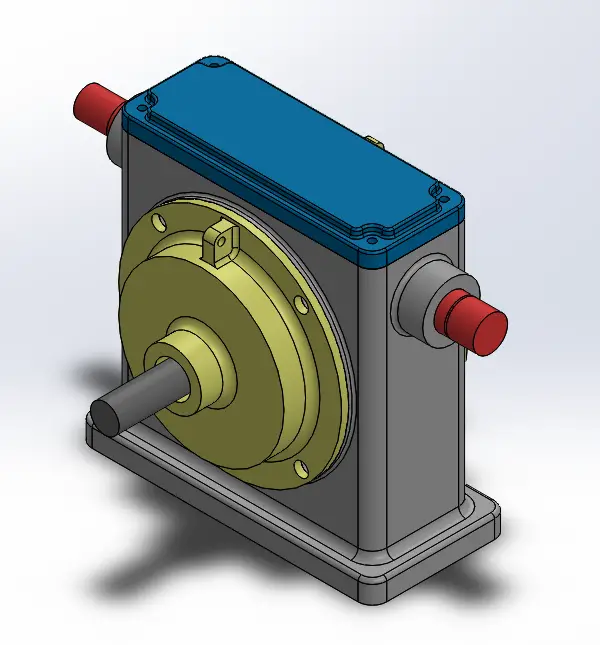
The assembly that will be exploded and explained step by step in this article is an assembly housing of a gearbox. This assembly can be downloaded directly in the following website:

Also, make sure to check out our other detailed Solidworks tutorials here.
Getting Started with Exploded View!
When you enter SW with an assembly: The following operations will show up. The option to choose is named “Exploded View”.
Automatically after hitting that option, the following window named “Explode” will appear:
Explanation of Tools and Options in Exploded Menu Bar
Before starting to displace/rotate the components, a brief explanation will be shown of every option there is in the window “Explode”.
Rotate about each component Origin:
With this option it will allow you to change the origin to its drawing origin.
With Rotate about each component Origin option checked on:
Options Menu Explanation:
Auto-Space components on drag:
This option will allow you to equally space your assembly components. The selected components move, maintaining an equal space between them as you drag. Parallel components remain parallel.
Sub-assembled Parts:
In order to use effectively this function. It is necessary to have an assembly made of other assemblies. This will allow you to grab a whole sub-assembly and move/rotate in the direction you want to show your exploded view.In the following example: a sub-assembly piece was dragged and their components were separated equally in a distance 30mm.
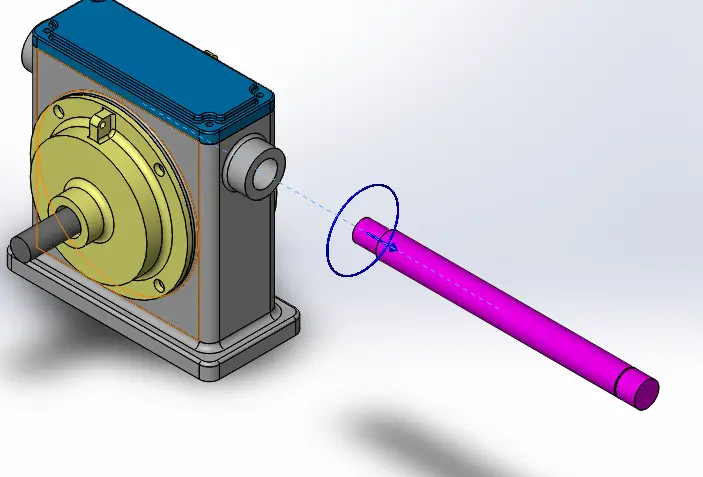
Select a component of the assembly, you will notice that the origin axis of the component will appear which will let you displace the component in the x, y, and/or z axis and/or rotate the component in the x, y and /or z axis. Use the options of distance and rotation if needed to give a precise distance or degree.
Show rotations Rings:
This is a simple add-on in SolidWorks that will show you a rotation ring in the origin:
Starting to Explode the Components & Sub-Assemblies:
The process of a proper exploding view is to start displacing the components or subassemblies as needed to show so that the viewer can see the structure of the whole assembly. The sequence may be important if you want to show how it would really be assembled step by step or make emphasis on a sub assembled part in the sequence. Remember that at the end of your exploding steps, you can modify and edit them as you wish. The editing/modifying steps will be explained at the end of this article so there’s no need to be very precise in your first exploding sequence.
In this example the “Cover Plate” was displaced as shown in the picture. Notice how a sequence was created in the “Explode Step” menu bar which automatically is saved once you select or choose other component or sub assembly to start moving or rotating.
There’s no limited amount of exploding steps per component or sub-assembly. Add the amount necessary of exploding steps as needed, remember this view is to demonstrate how the assembly is structured and held together. Too many exploded steps could become redundant and too few could be unclear.
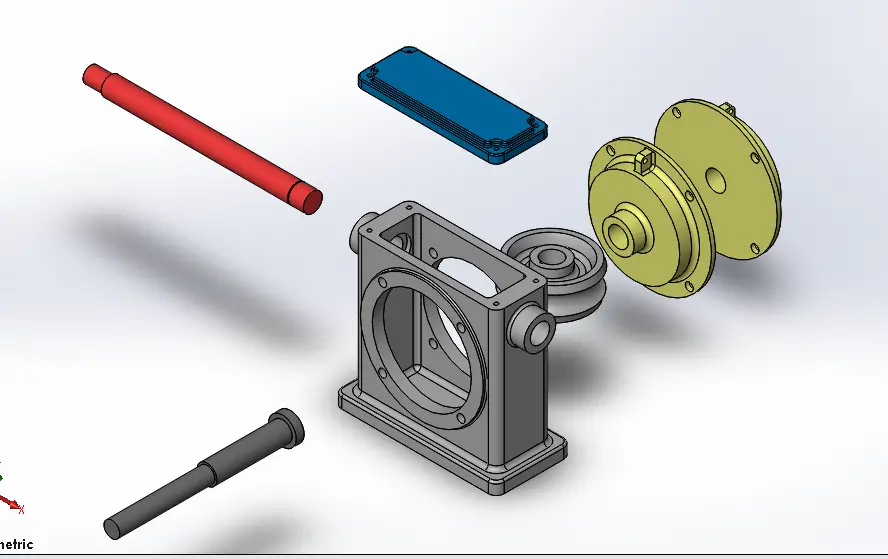
Continue displacing and/or rotating the components and sub-assemblies as needed to be able to make a whole collapse and explode assembly.
Editing Exploding Views in SolidWorks
In the PropertyManager tool bar, under Explode Steps, right-click an explode step and click “Edit Step”.
There you will be able to edit every single Explosion step, exchanging components or simply displacing/rotating the component as you wish. This option is really helpful because your first exploded view.
Note: You can change the name of the exploded view and exploding steps. This will help you identify and customize your exploding process.
Show off your Work!
This is the final step of this process and this is the part where you can be a show-off with a presentation using an exploding/collapse animation. In this step, you will need to right click on the exploded view icon and click on animate collapse/explode. A window called “Animation Controller” will pop up. In this controller you will be able to: start, rewind, Play, fast forward, end and pause the animation. You can also playback in normal mode, loop mode and reciprocate mode with half or double the animation speed.
Saving your Animation
In the animation controller screen, there’s an option to save the animation which will let you change some characteristics of the resolution and frames per second on the explode/collapse video. The extensions that will let you save the animation videos are the following:
- Microsoft Avi (.avi),
- Windows Bitmaps (.bmp)
- Truevision Targas (.tga)
A SolidWorks renderer will be selected as default. An extension for another type of renderer will be needed to be installed before doing this step if it is desired to use other software or program to render the animation.
Conclusions
Exploded views in Solidworks are extremely useful when explaining designs or ideas. Details can be clearly seen, parts are not hidden and the animation will help show the assembly process. This simple tool impresses and convinces the viewers about your design proposition or idea, therefore it really comes in handy when you plan to make a design presentation.
Leave a Reply