In this tutorial, I will show you how to engrave custom text into a part using SolidWorks CAD tools. This technique can be very useful for creating laser-cut features, such as in sheet metal, or for plastic molded parts.
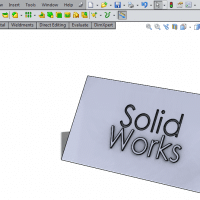
In this example, we’ll complete both an engraved and an embossed set of features for a nameplate. This nameplate is a 3D design.
What will you learn?
You will learn the following topics in this tutorial:

[toc]
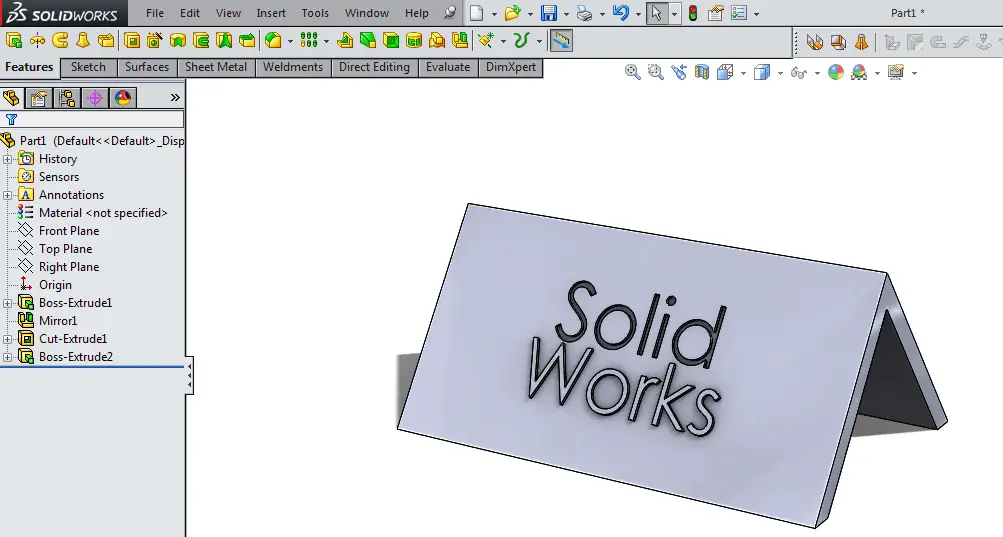
Before we can learn how to engrave in SolidWorks, we need to create a part. This part is a nameplate which we will use to engrave text. The final design after the tutorial will be:
Creating the Base Feature
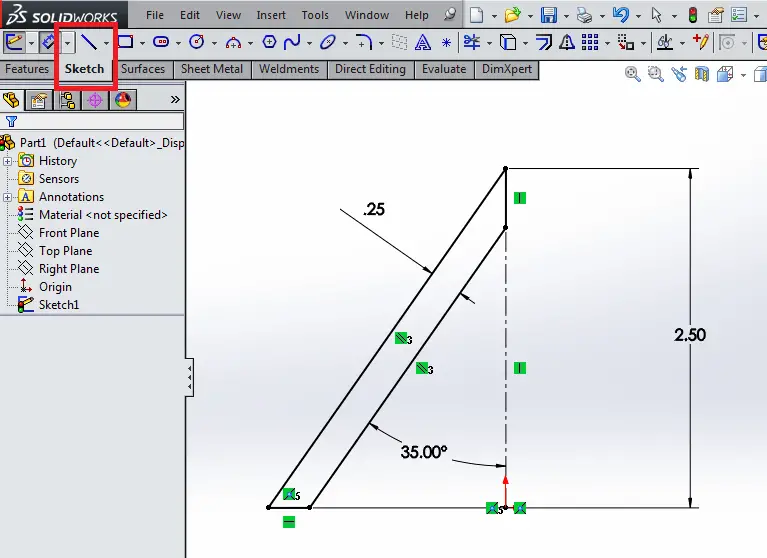
In a new part, start by creating a sketch on the Right Plane as shown in the image below, which will comprise one half of the profile of the triangular name plate. It consists of a simple set of 4 lines, connected to form a sort of slanted polygon.
Use a vertical Centerline as a reference for the angle of the name plate. Use the Smart Dimension tool to dimension the lines as shown. I used a Coincident sketch relation between the bottom edge of the polygon and the origin to constrain the sketch.
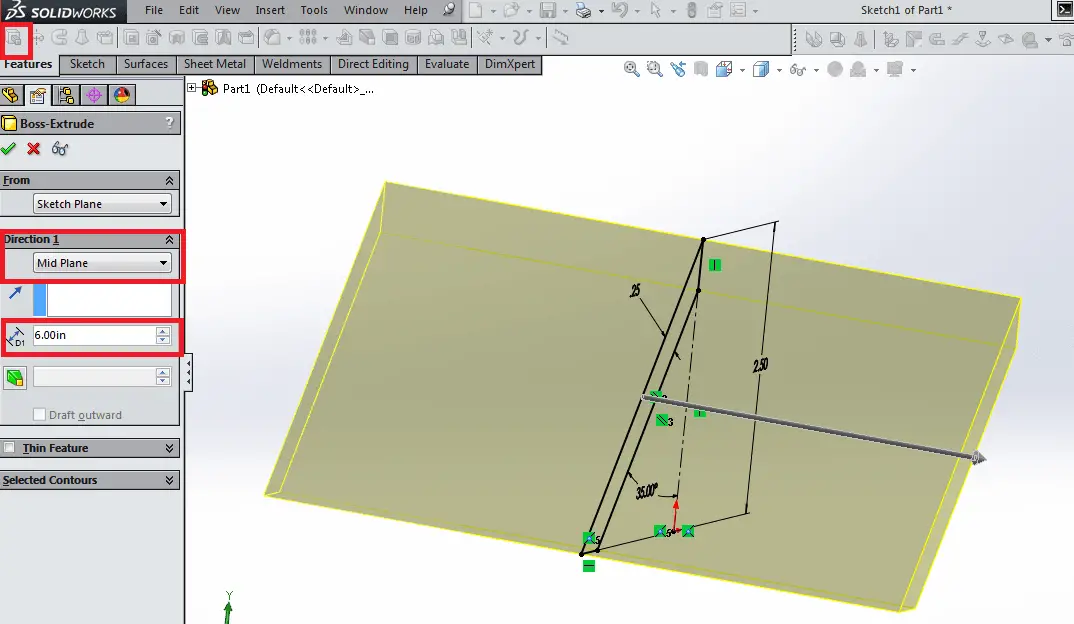
Now, it’s just a matter of extruding the profile out to our desired width and mirroring that feature.
Start by clicking the Extrude Boss / Base feature and typing in a length of 6 inches. Under “Direction 1,” select “Mid Plane”. This will cause the extrusion to expand symmetrically about the sketch.
When you’re done, click OK.
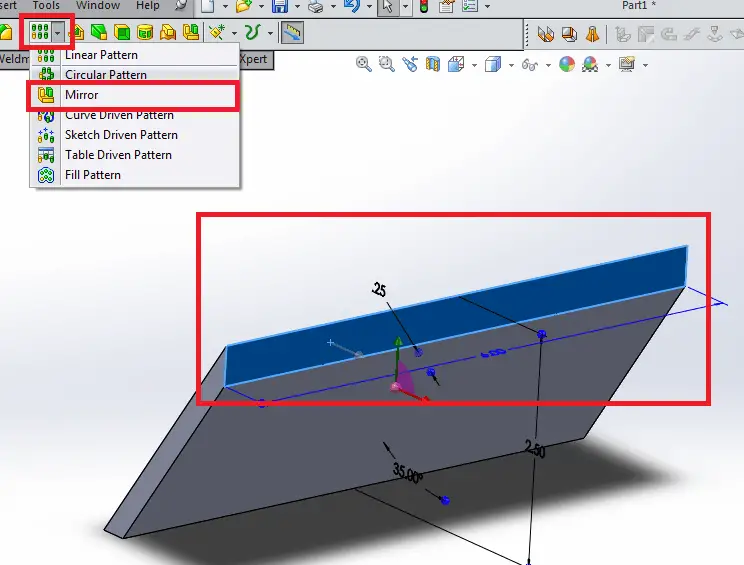
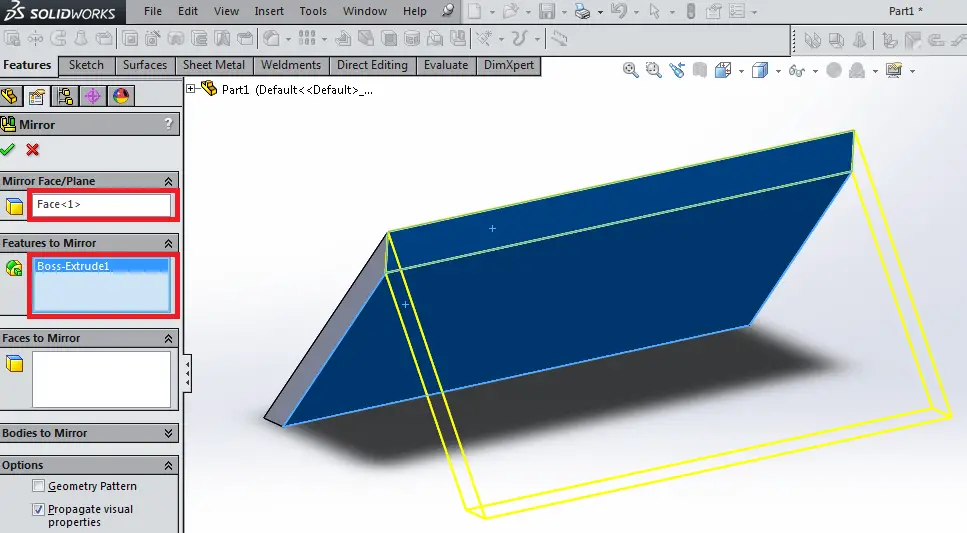
Now, select the flat face at the top of the extruded feature, and select the Mirror feature.
Select the extrude feature you just created by clicking on it in the work area.
How to Engrave in SolidWorks
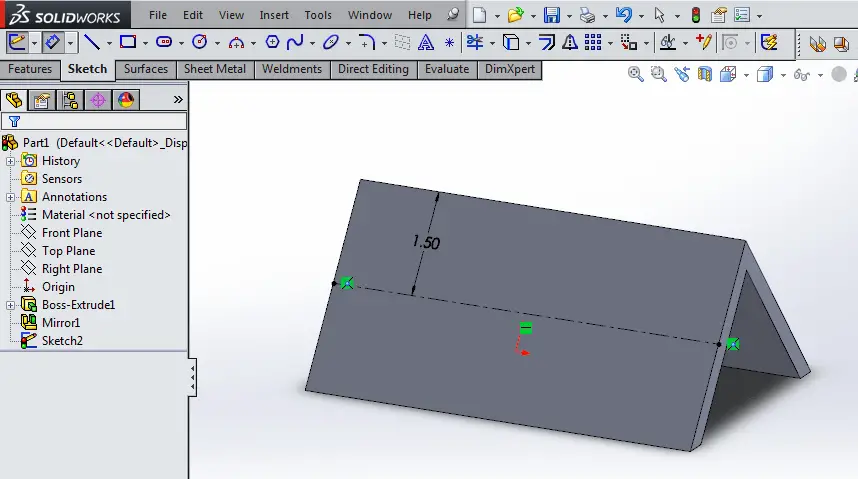
Start by creating a new sketch on the front face of the part you just created. Sketch a horizontal Centerline and dimension it 1.5 inches from the peak of the base feature as shown.
Now, click the Text tool from the Sketch Toolbar. In the Curves box, select the Centerline that you just sketched. In the Text box, type your name, or anything else you want to engrave.
You may notice that the text is showing up too small. Fix this by unselecting “Use Document Font” and adjusting the font size using the Font… button, as shown.
I am using size 72 font. You may choose to use another font, as well.
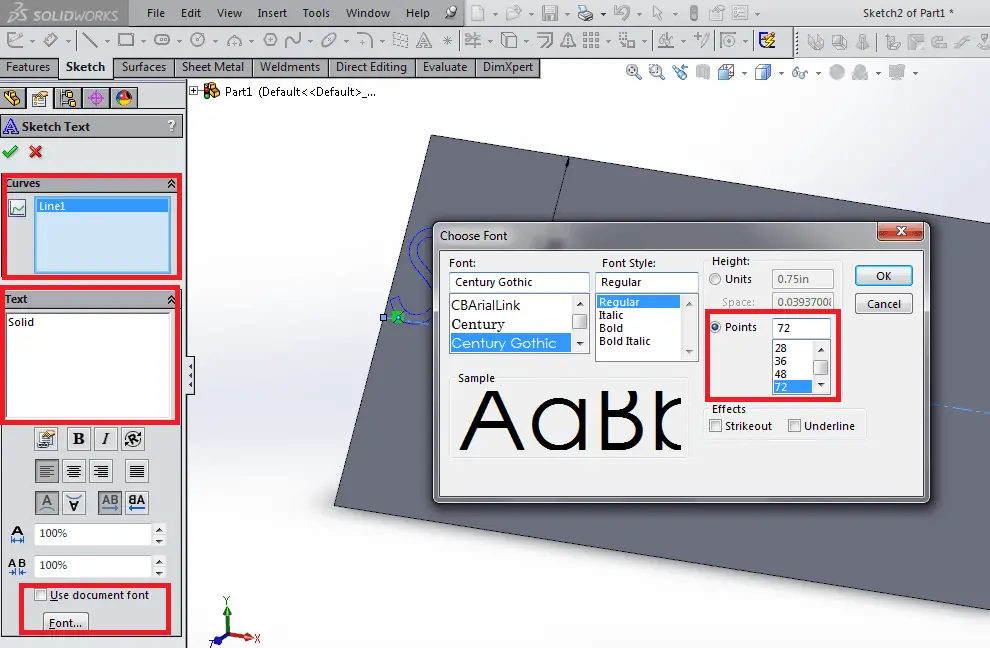
Select OK in the Choose Font window, and select the “Center Alignment” button on the Sketch Text pane.
(Hint: If your text shows up upside-down or backwards, simply correct this by using the other buttons below the Alignment buttons on this pane!)
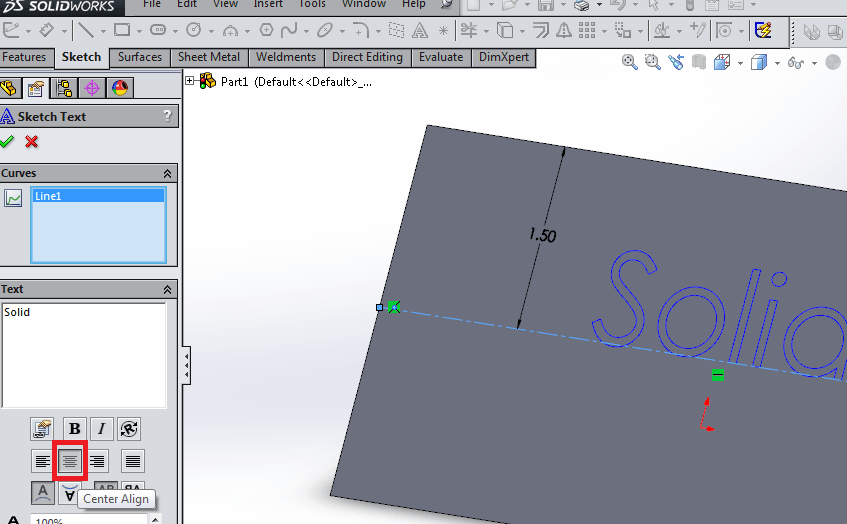
Once your text is centered, select OK.
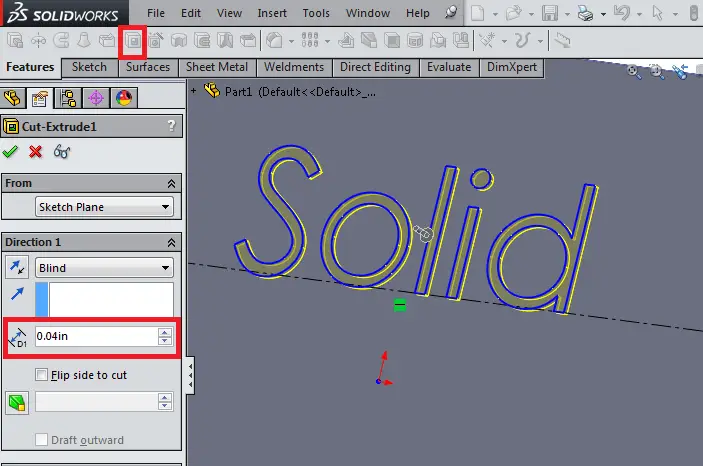
Select the Extrude Cut tool, and choose a depth of 0.04” Click OK.
To create the embossed feature, we’ll create another Centerline and use the same Text tool to create a second feature below the engraved text. Use the same method as before, only set the line far enough below the first so that your text does not overlap. I’ve dimensioned this line 0.75 inches from the bottom of the base. It should look similar to the image below:
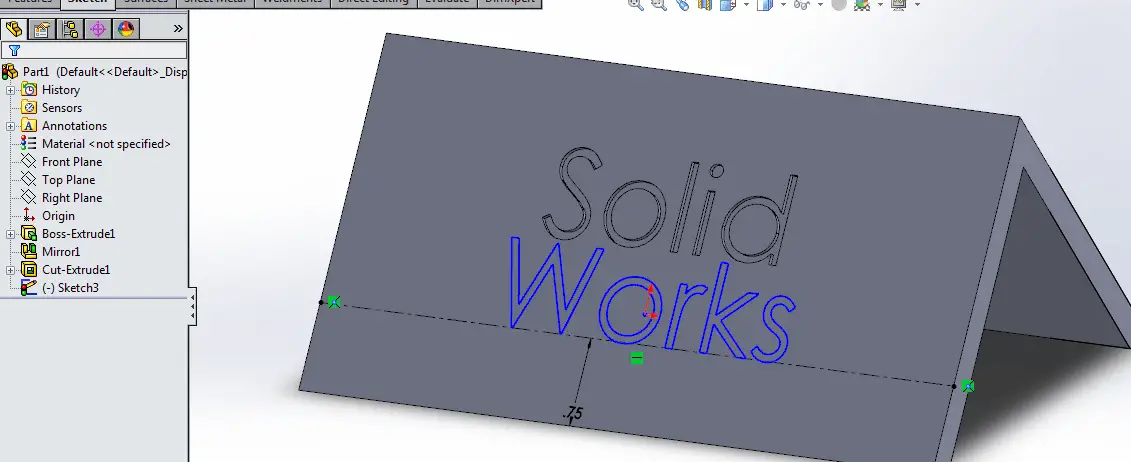
Now, use the Extrude Boss / Base feature, and set the depth to 0.04.” Click OK.
Congratulations! You’ve created a basic engraved and embossed part.
Final Thoughts
In this tutorial, you learned how to engrave text into a part in SolidWorks. Specifically, this part was a nameplate. As an exercises, try changing the text to your own name. You can use this approach on other parts where you may need to emboss text. For example, putting version numbers, part numbers, or even your signature showing this is your design. This can all be done by engraving.
Try engraving text on these other SolidWorks tutorials.
Leave a Reply