SketchUp is undoubtedly one of the most important and powerful tools to have in your arsenal when taking on projects and challenges involving 3D designing. But that is the domain that its power is limited to; 3D designing. The following phases of development and post-processing are beyond SketchUp’s domain. Fortunately for us, the legion of SketchUp users picked up where the developers left off and created an array of extensions and plug-ins that can be added to SketchUp in a snap. When it comes to rendering the final design into a beautiful cascade of shadows and realistic imagery enhancement, where photographers have Photoshop, SketchUp designers have V-Ray.
V-Ray is a Sketchup rendering software that can be downloaded from the chaosgroup.com website (after a free registration) & can be bought if the need extends to additional requirements. For this tutorial, the installation and usage of V-Ray is based on a demo version, highlighting the basic principles so as to introduce the reader to V-Ray rather that confuse them with the array of technicalities that assign V-Ray its immense power. The following screenshots (figure (a) & figure (b) respectively) show Sketch Up without & with the V-Ray demo installed.
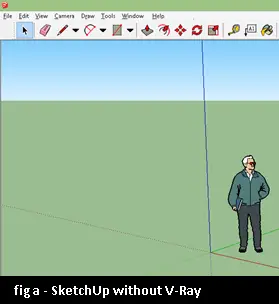

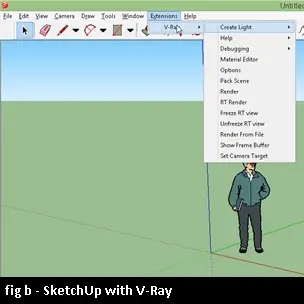
Yes that’s the only notable difference, the addition of the menu that allows direct access to all the functions of V-Ray without any distracting clutter. Let’s begin the tutorial on rendering in Sketchup. Now let’s add something to the scene and run a test render, just to see whether everything was installed correctly or not.
[toc]
Step 1
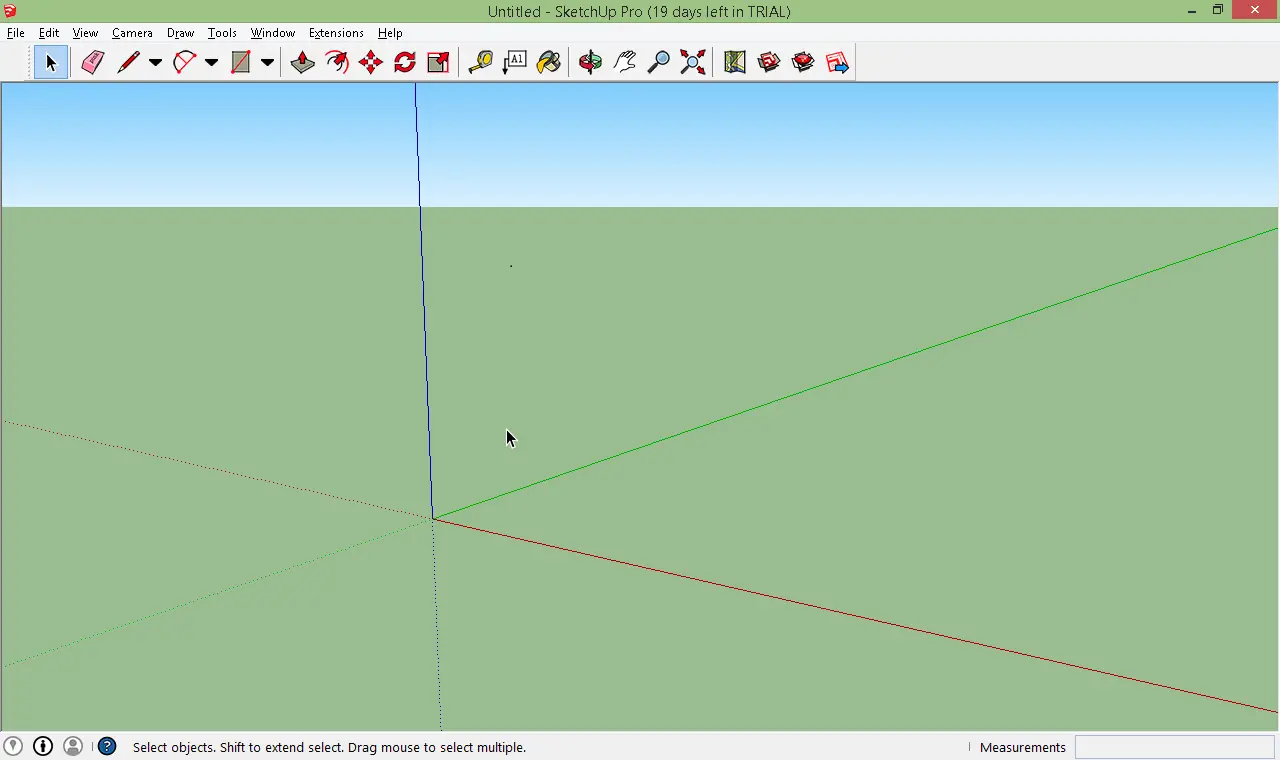
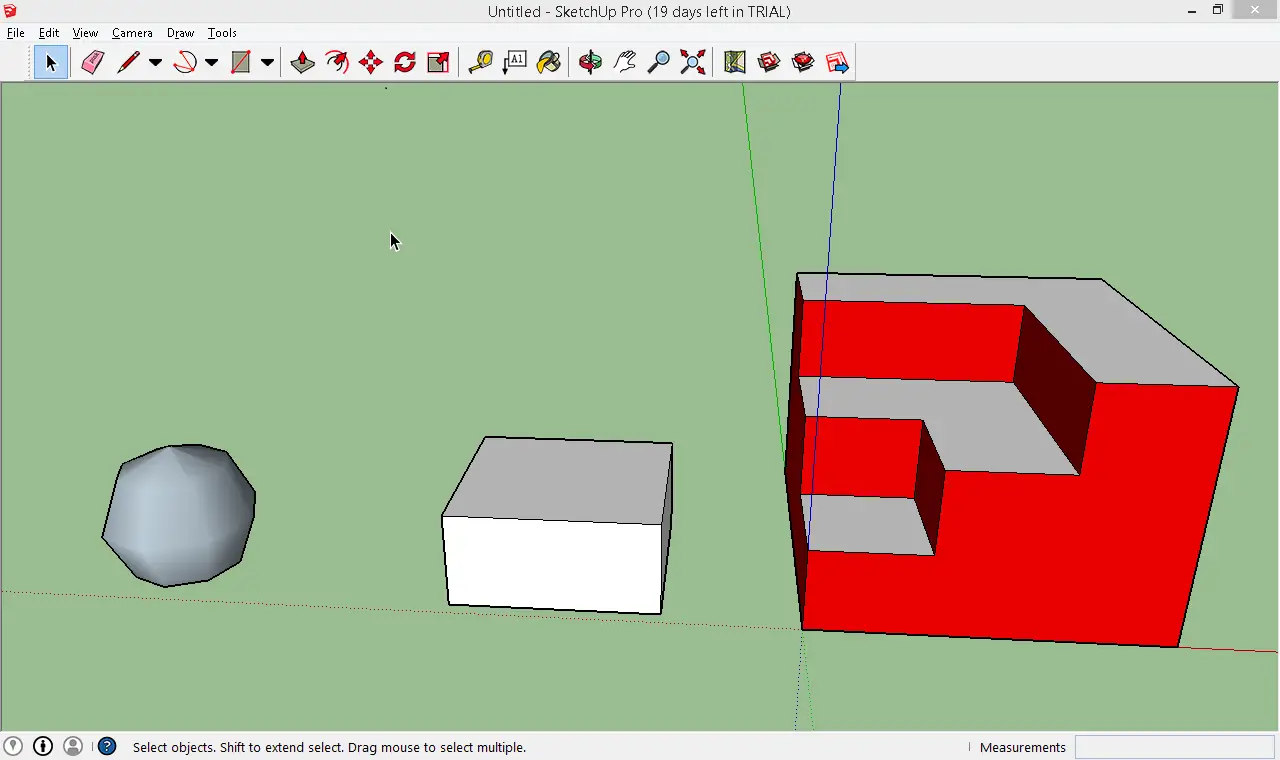
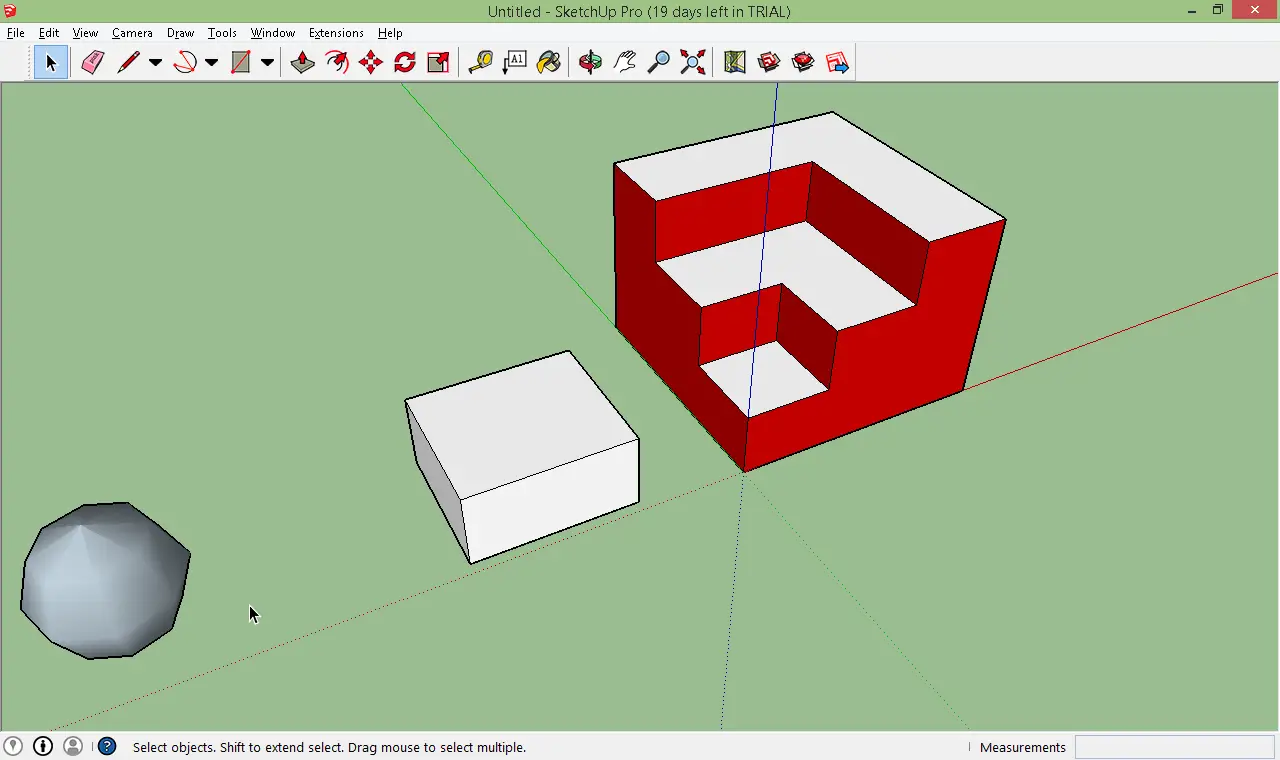
I’m going to add a cube and then extrude it into the shape of the SketchUp logo. Since this tutorial is based on V-Ray rendering, we are going to skip the text of how to create the logo as that is only a cube, with a L-shapes extruded to make the step-based design of the logo. The following screenshots show how the logo takes it shape. And in case you’re wondering, I asked our elderly friend to exit our stage in this very step.
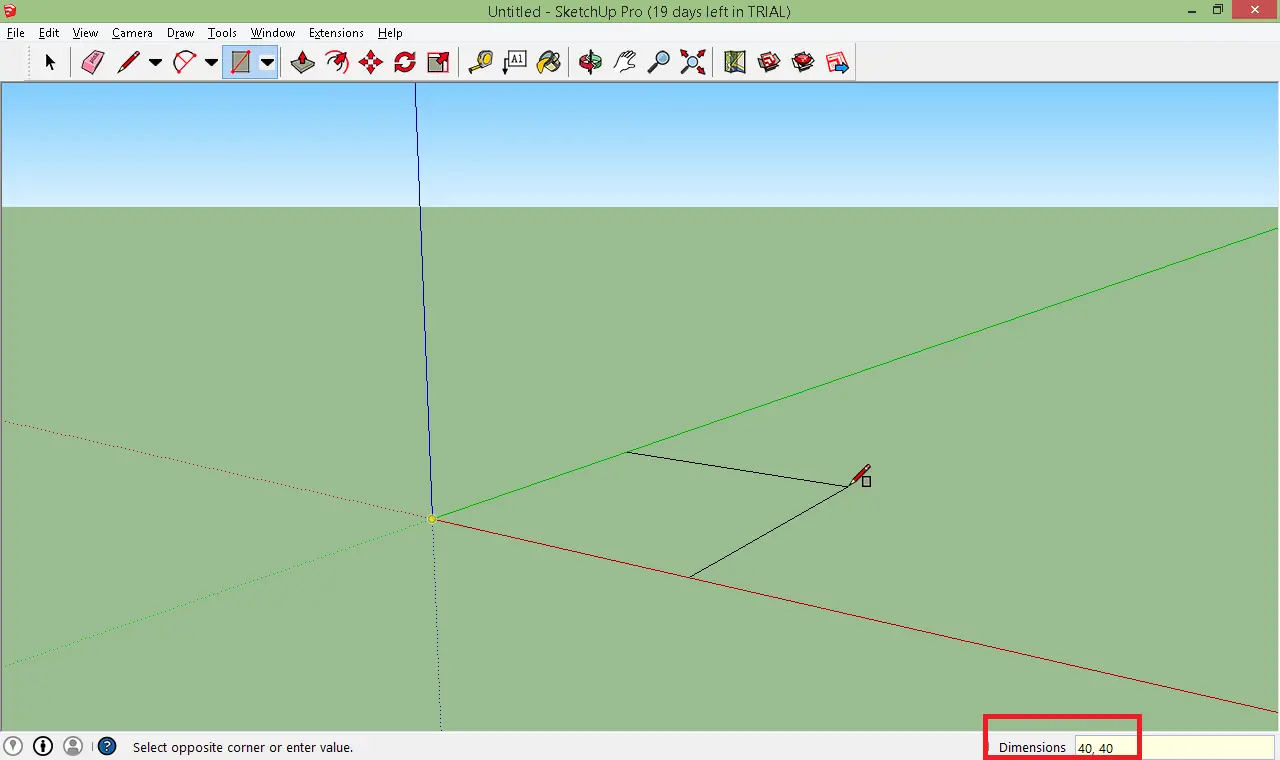
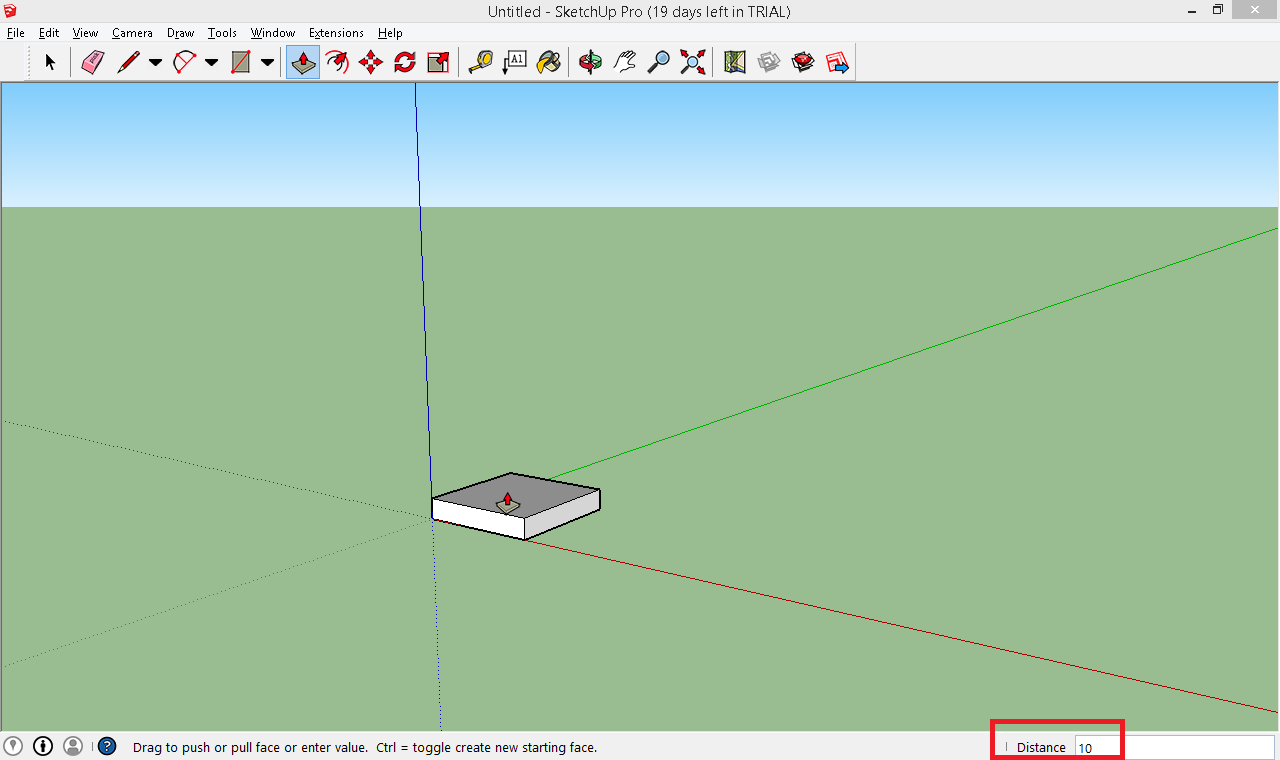
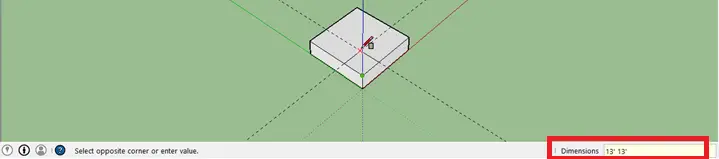
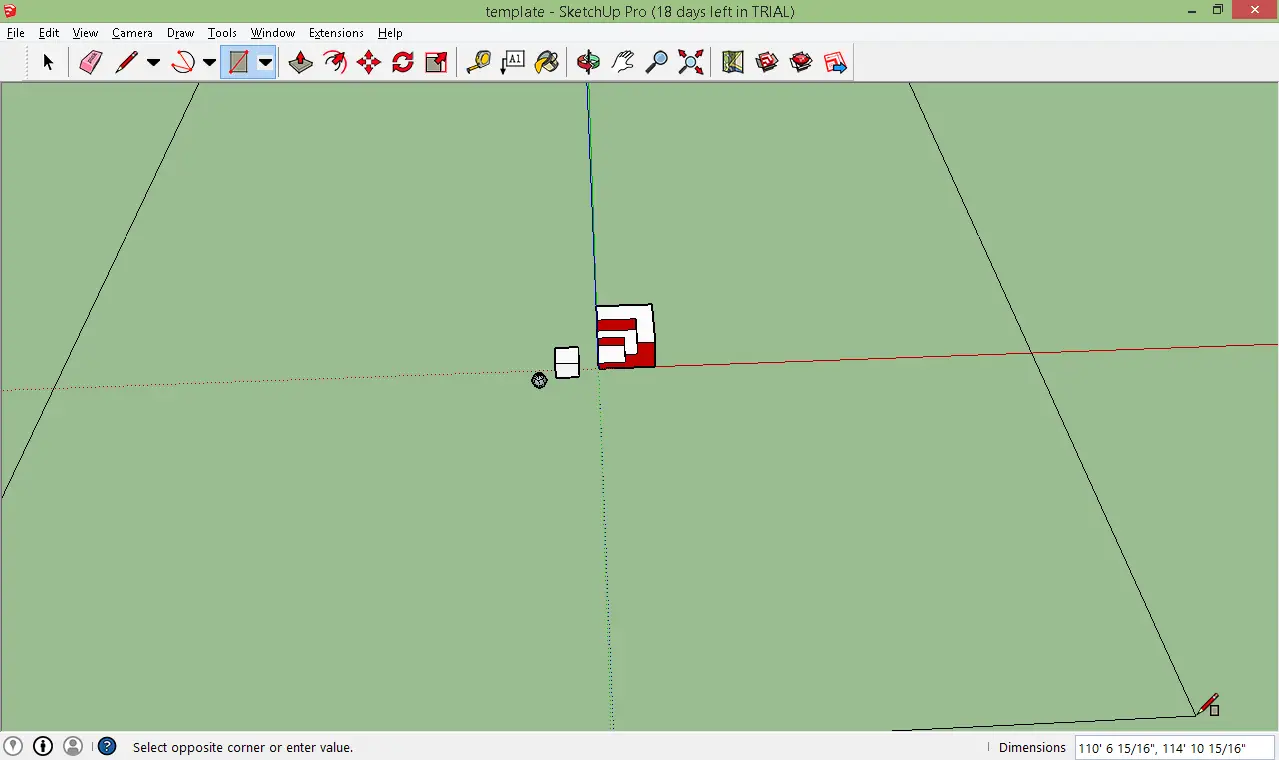
With the upwards pull of 10’ (the cube being 40’ X 40’), I’m going to create the first step. For that I’ll add the first L-shape step at 13’ x 13’ from the left bottom corner. For that I’m going to add the guides, with the tape measure tool. Changing the orientation of the view shows us the following:

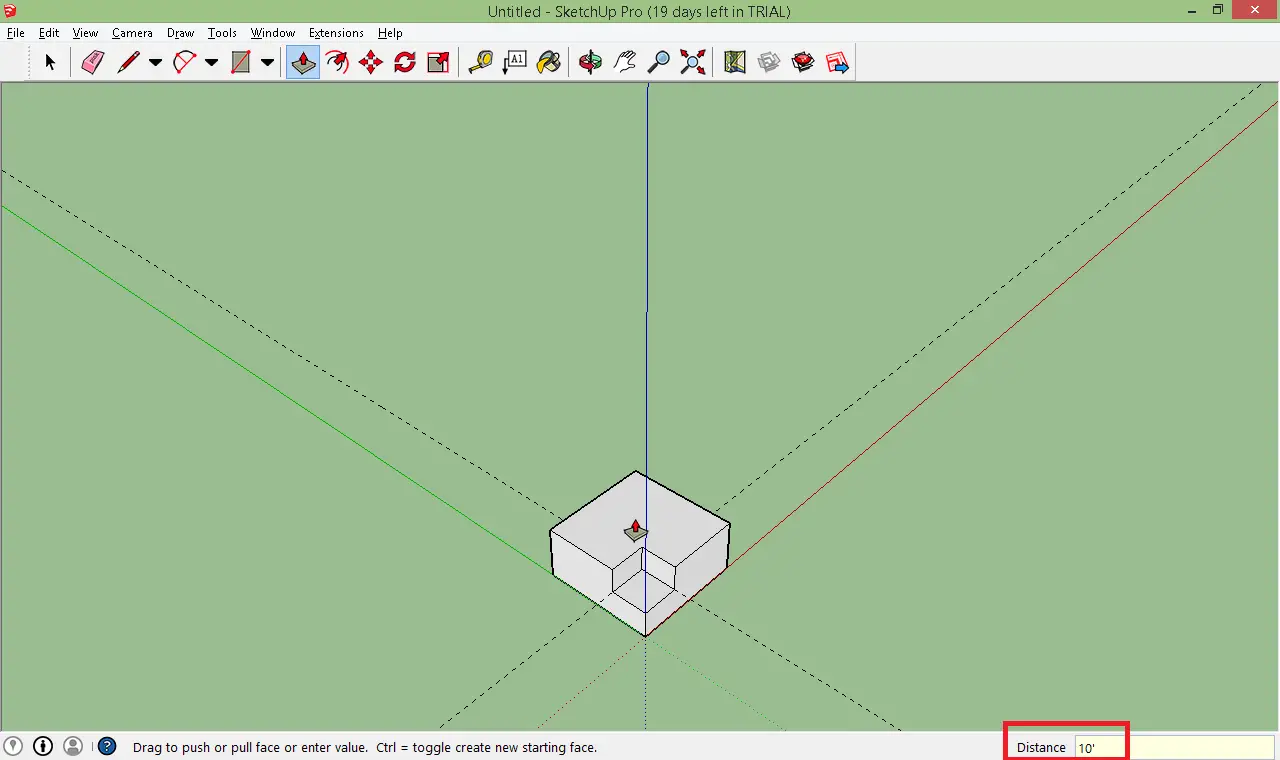
Adding both guides (measures), we draw a rectangle on from the bottom left corner (which is in the center in the following image because of the changed orientation of the view) to the intersection of the guides as follows:
Following this, well extrude the remainder part, as highlighted in the following image:
Following the same process we finalize the SketchUp logo and add some color to it using the bucket tool (shortcut key: B).
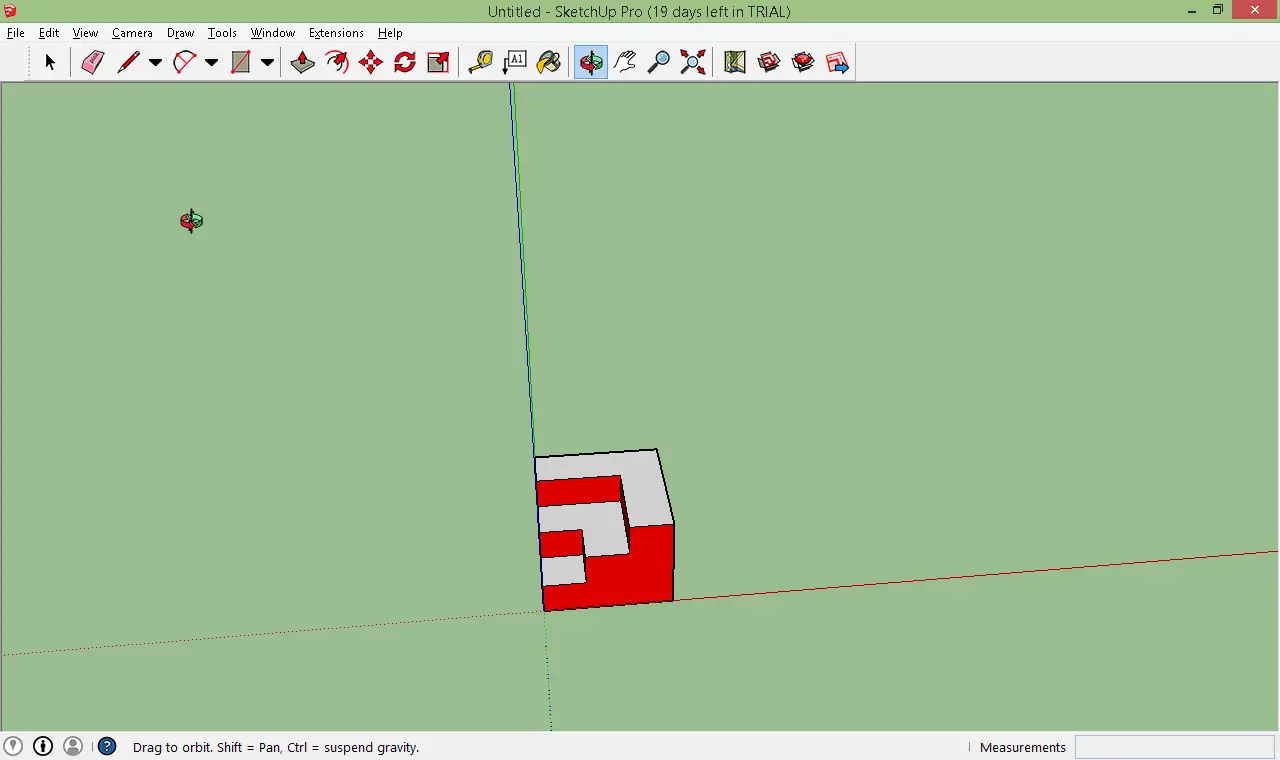
The finished design (below) is not proportionate to the original logo, but will serve nicely for our tutorial. A quick change of perspective and voila:
And deleting the guides we get:
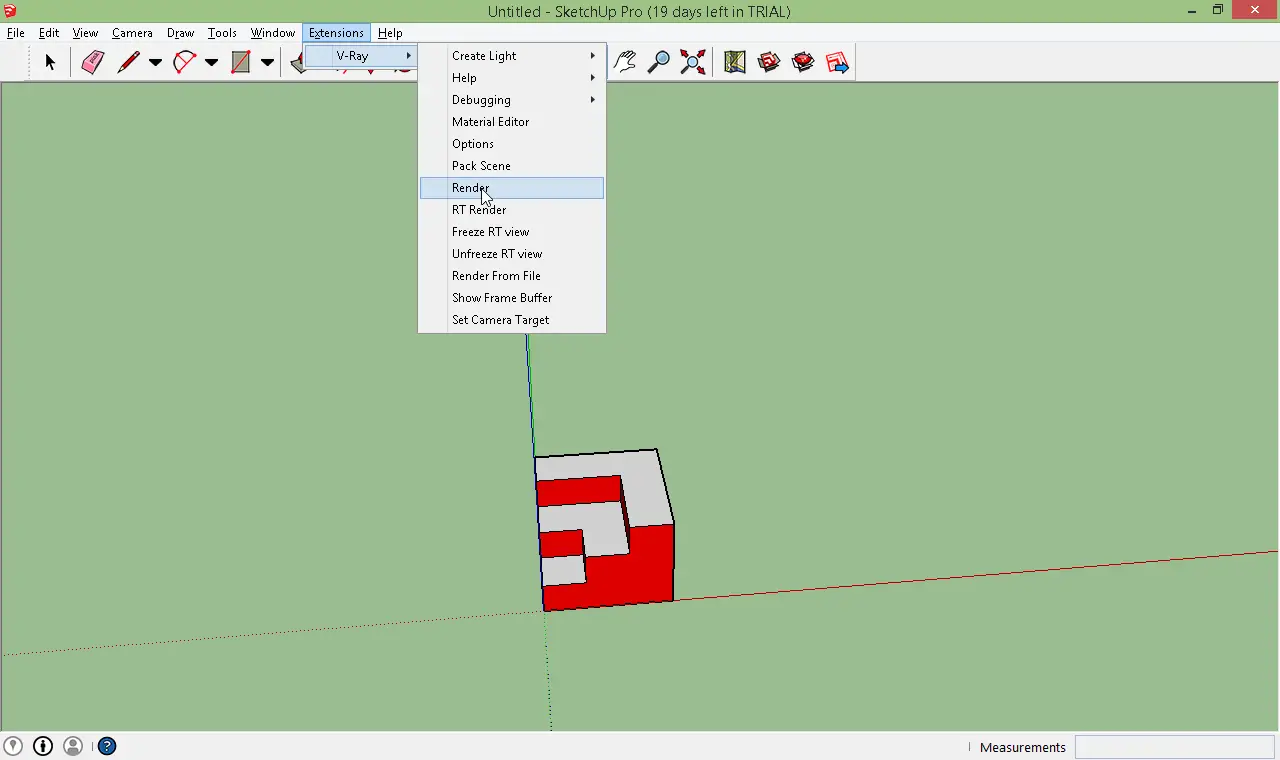
For the purpose of checking whether our rendering extension/plug-in (in this case, V-Ray) works, let do a test render, like:
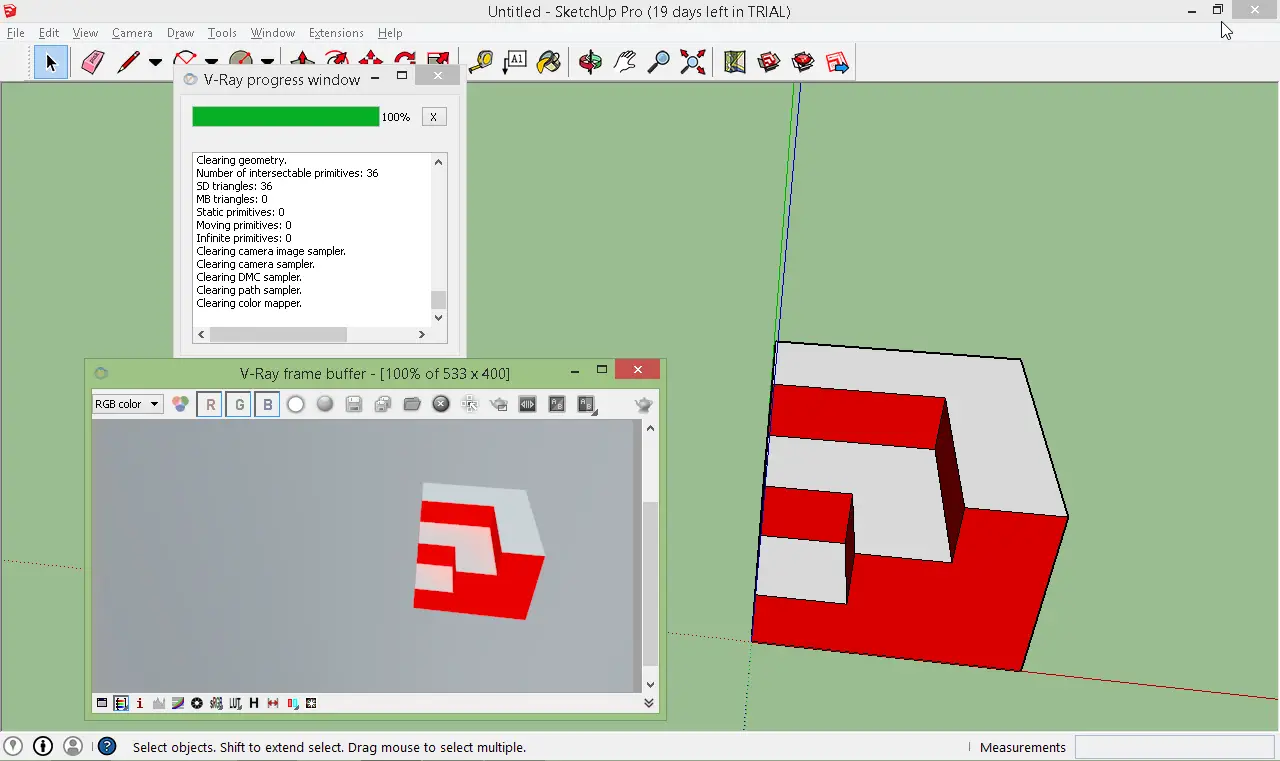
And we get

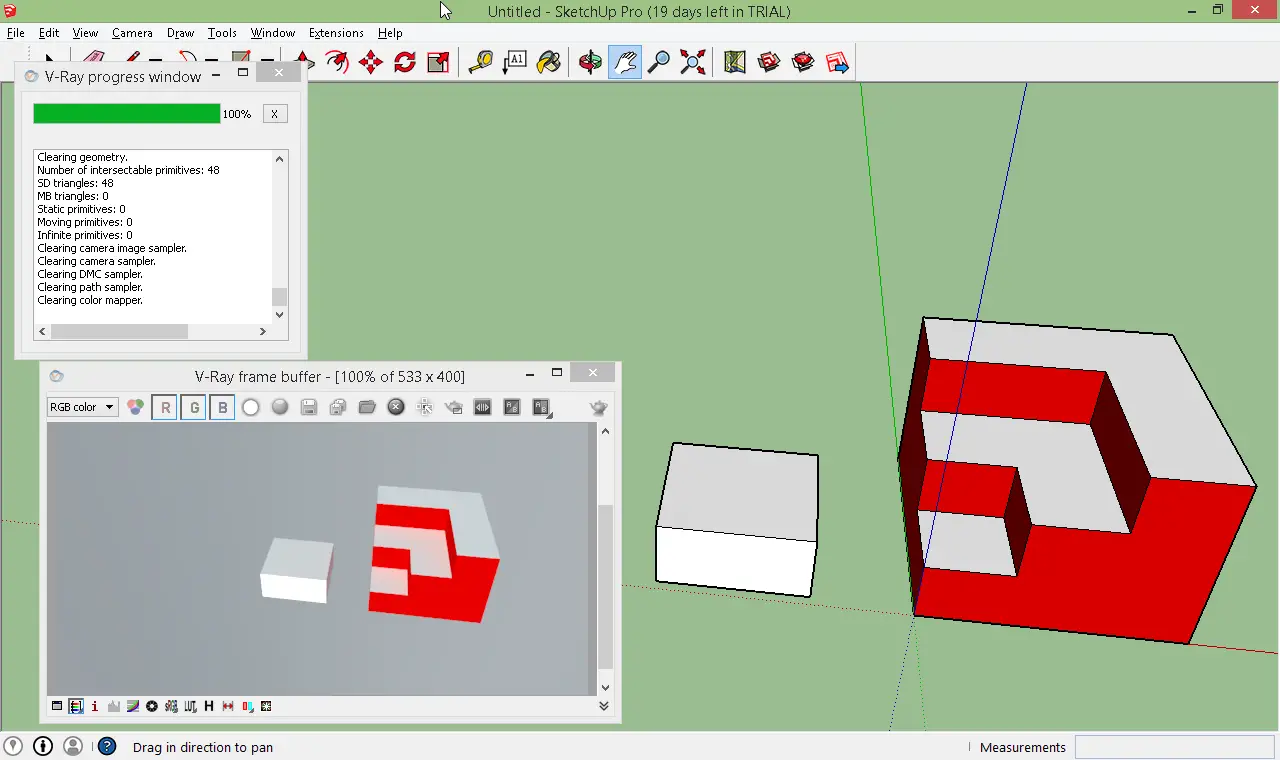
Now the V-frame buffer window shows us the final render, which understandably is off no use to us. It is developed without any lighting effects at all and has a certain shadowy appearance.
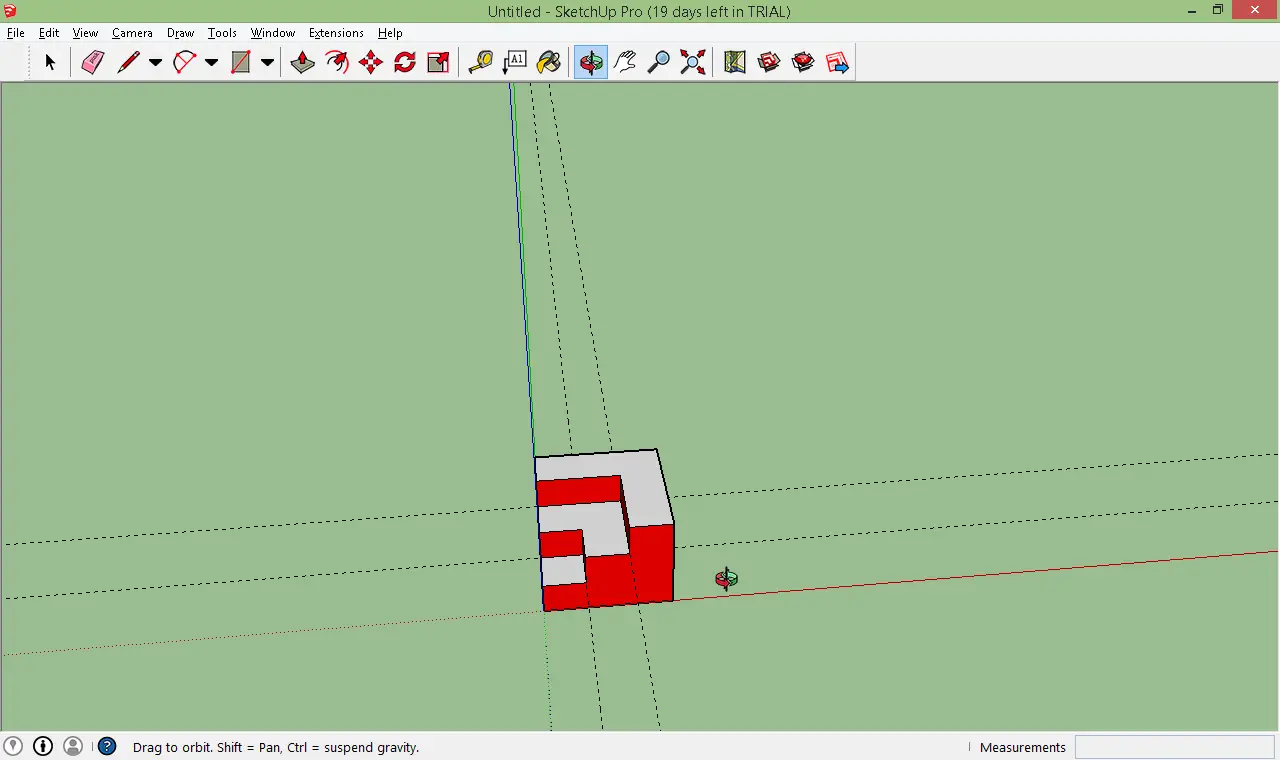
Now for one last test case, with an object placed right in-front of our logo-demo. The resulting render shows no difference in the logo except for the addition of the new item. As can be seen in the following figure:
Now for the fun part… adding lights and creating a cascade of shadows in the final render.
Step 2 – Adding Lights into the Sketchup Render
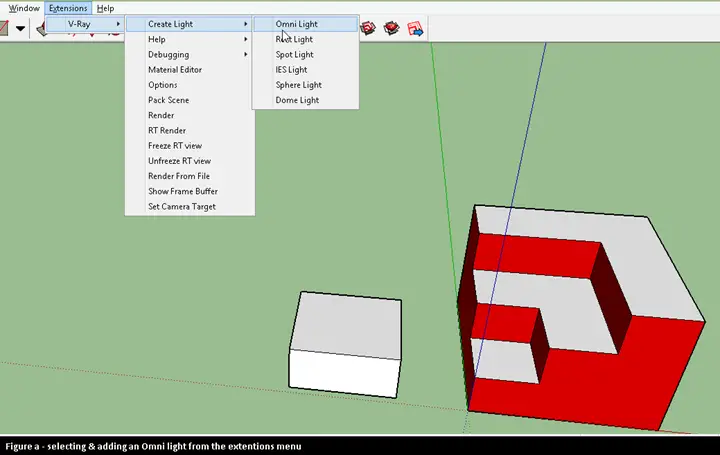
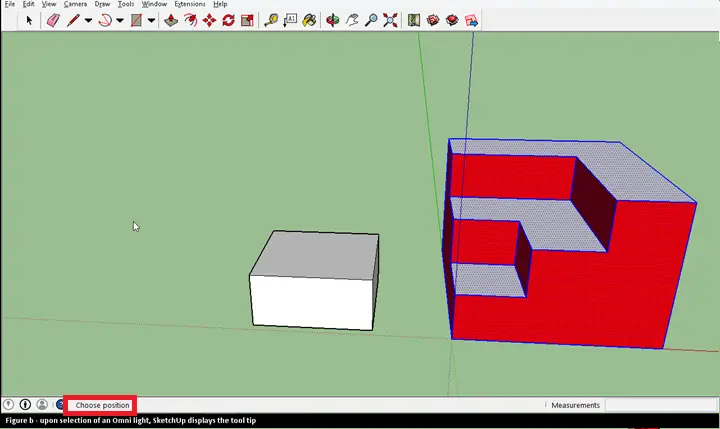
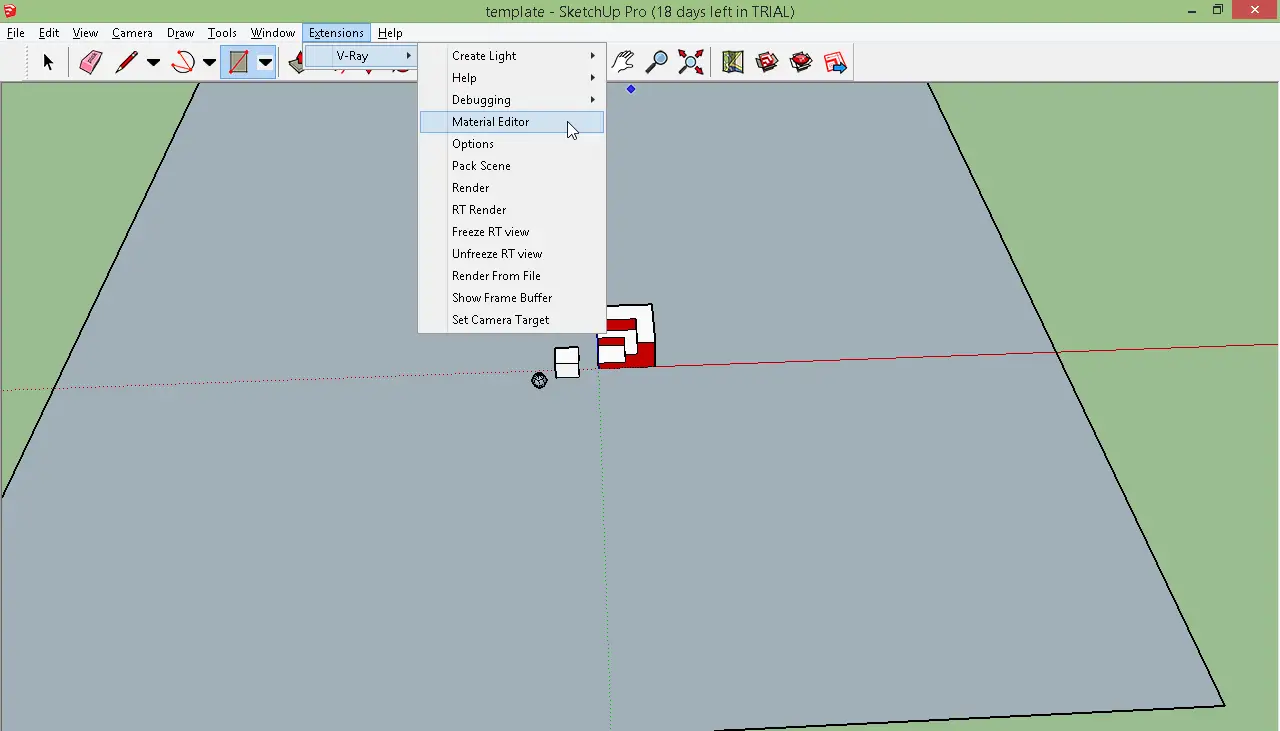
From the extensions menu, add a light. In this tutorial, we will add an Omni light, as shown in figure (a) & (b):
Step 3
Click where ever you would like the light to be placed. Since this is an Omni light, its radiance will be Omni-directional, like a sun, it will cast its light all around, without a special point or direction of focus.
And a change in perspective shows us the relative positions in the following images
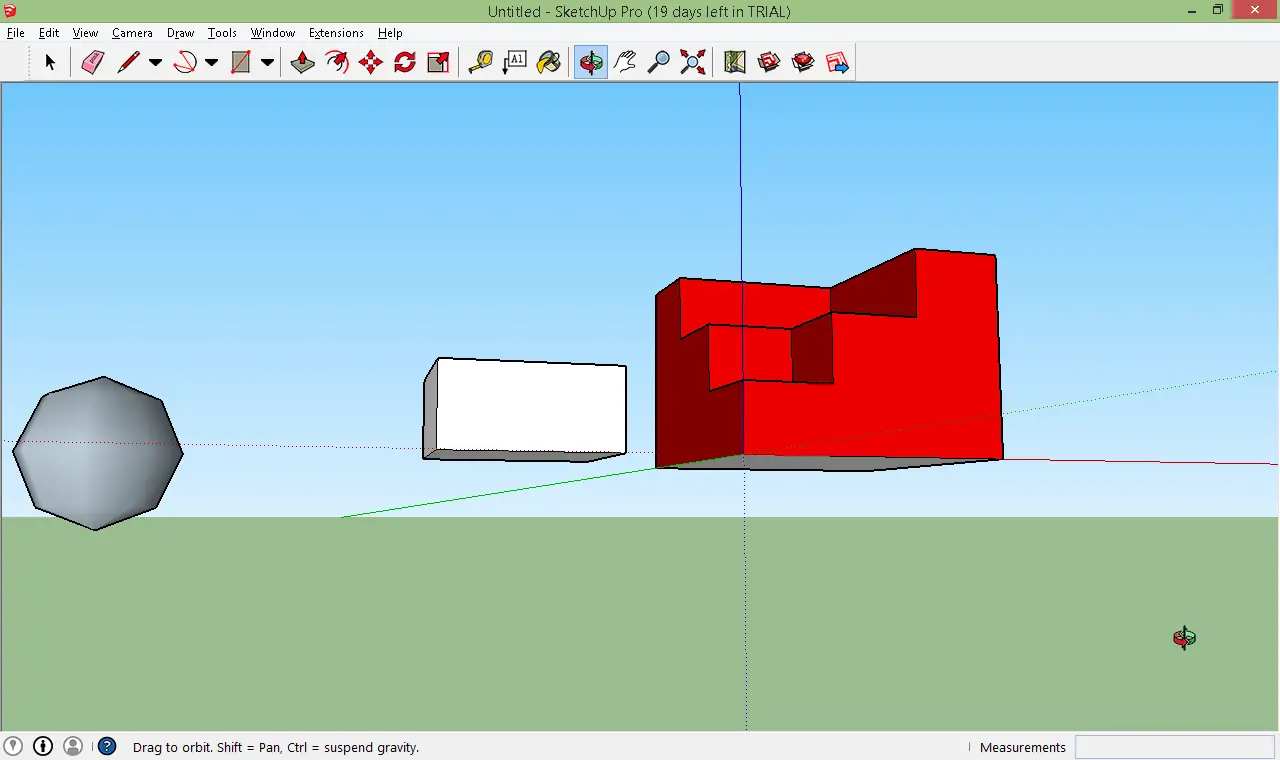
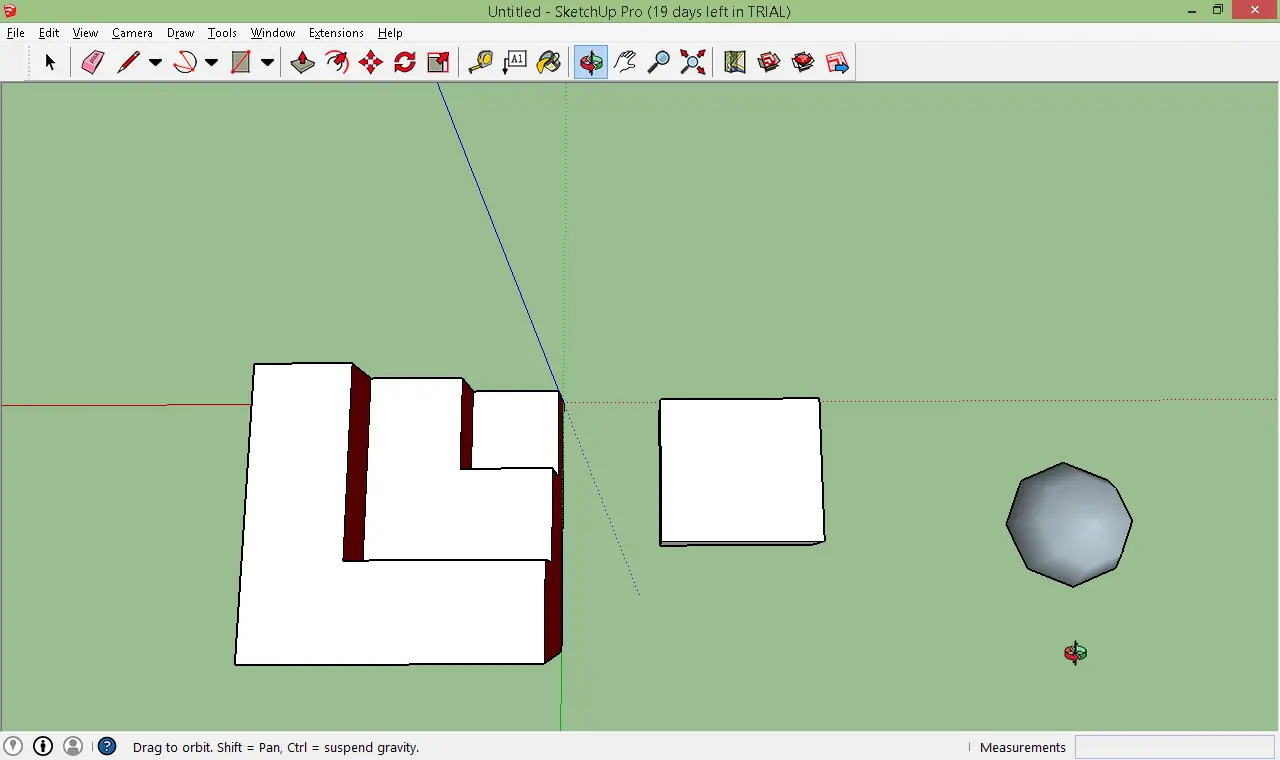
The screenshots above show clearly the alignment of the objects and the light source. The single face cube is in the middle of a diagonal path formed between the logo-demo & the light source. This alignment is crucial for this tutorial to show the power of SketchUp’s placement & path prediction as well as the shadow-cascading prowess of the V-Ray extension.
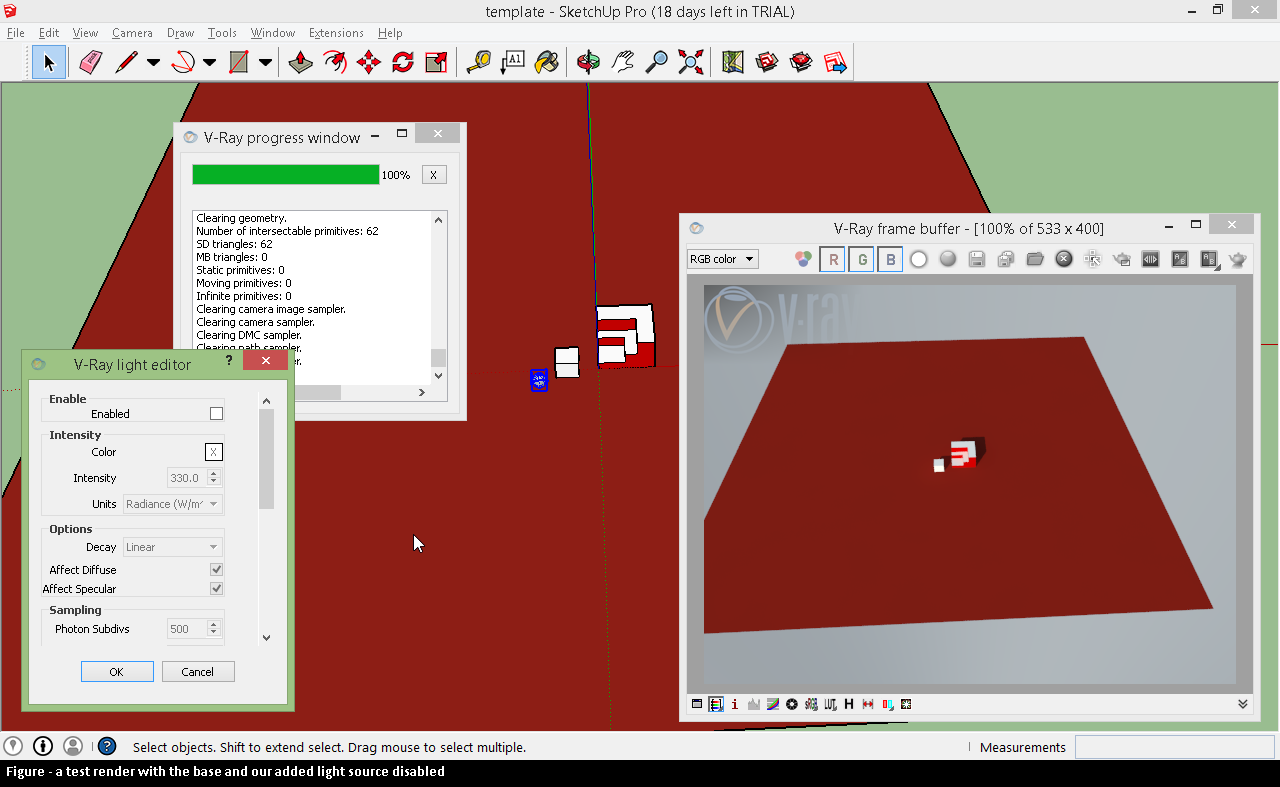
One final test render shows no difference except the change in perspective, since the light source is present but disabled.
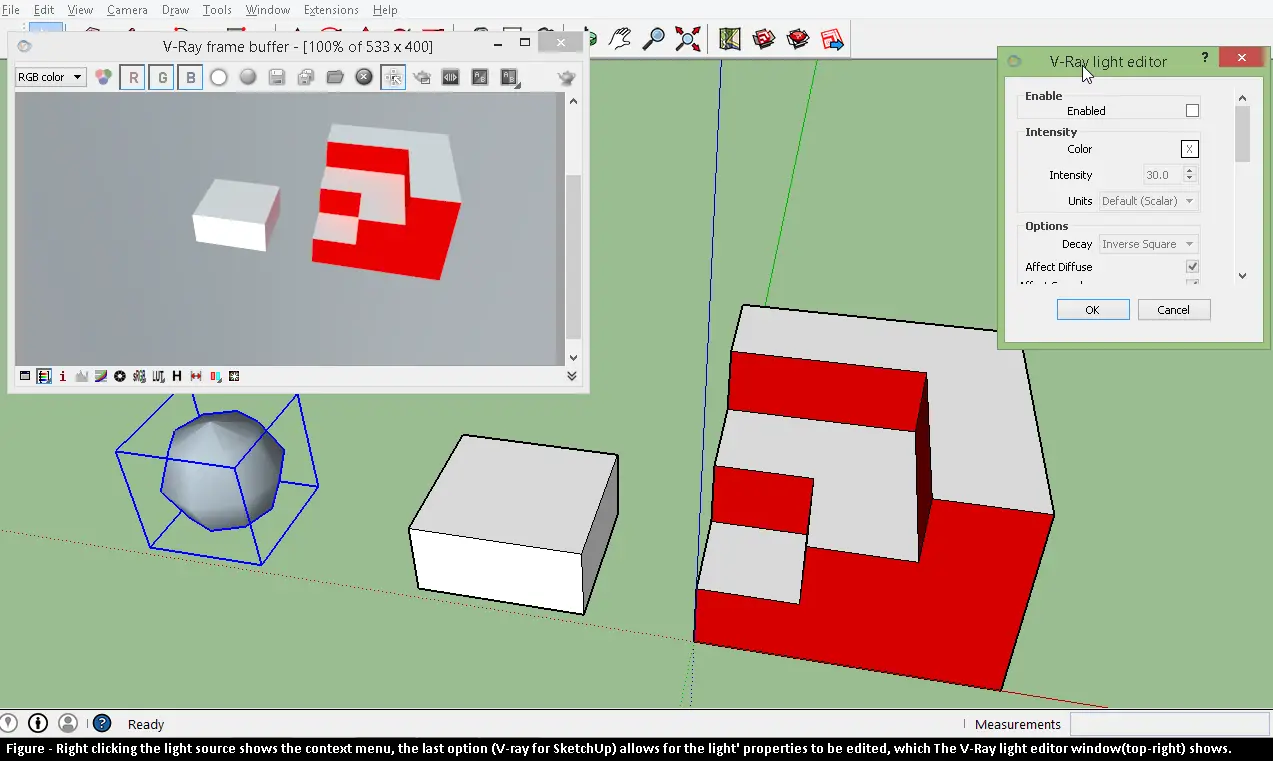
As is seen in the V-Ray light editor window, the light is disabled. Otherwise, the top most option would be checked. By default every light source is enabled. For the purpose of this test render, the light was disabled.
Step 4
Let’s add a platform to shows the base of the ground, just for the purpose of realism. Adding a base is the same as drawing a rectangle, on the canvas. Make sure it is placed beneath the objects so as to give the sense of the objects being grounded.
Fill it with a material from the material editor of the V-Ray extension, not the regular paint bucket.
I’m going to use an “amber” material so as to match the color pallet of the logo.
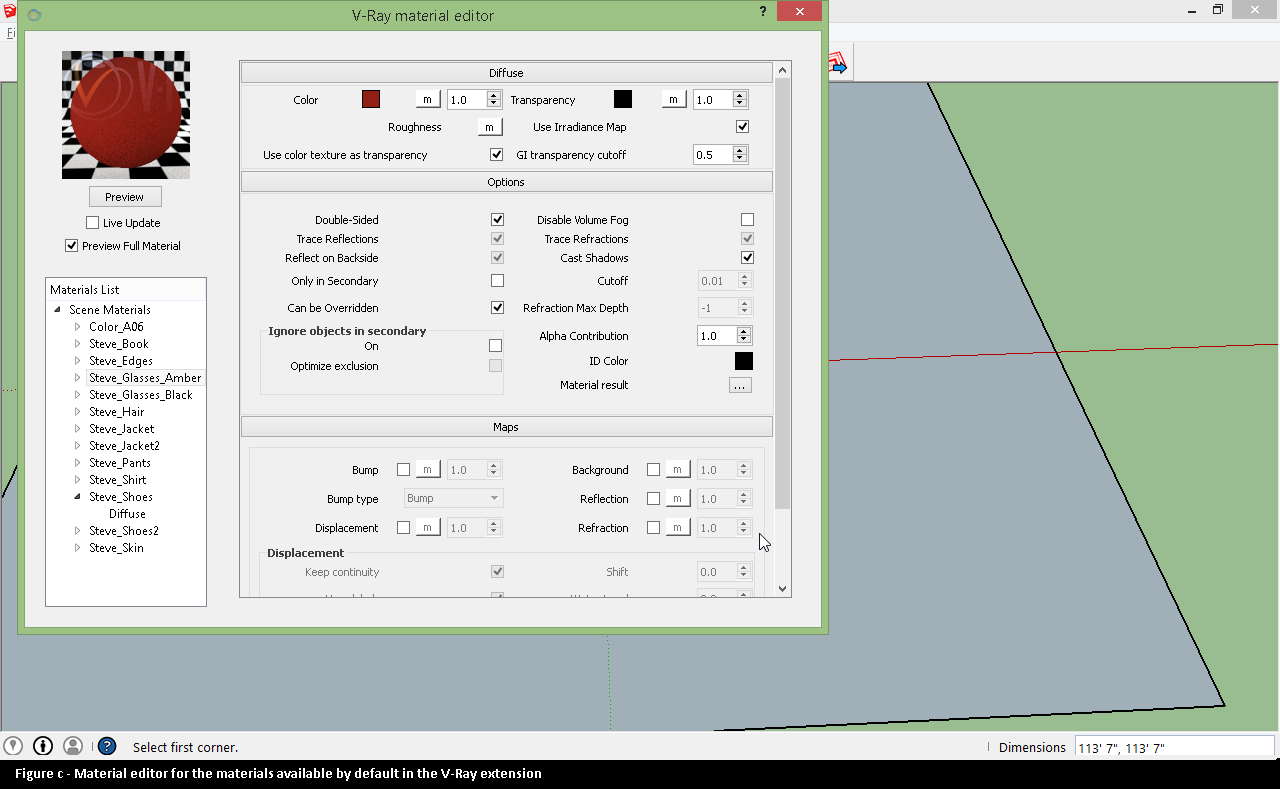
For now I’m not making any changes to the default settings of the material.

Test render, here we go! Remember the light has been disabled. And voila:
A few pointers here:
Notice that even though the light source is disabled, the shadow still appears. This is because of the default V-Ray lightning environment which can be better understood if we take a look at:
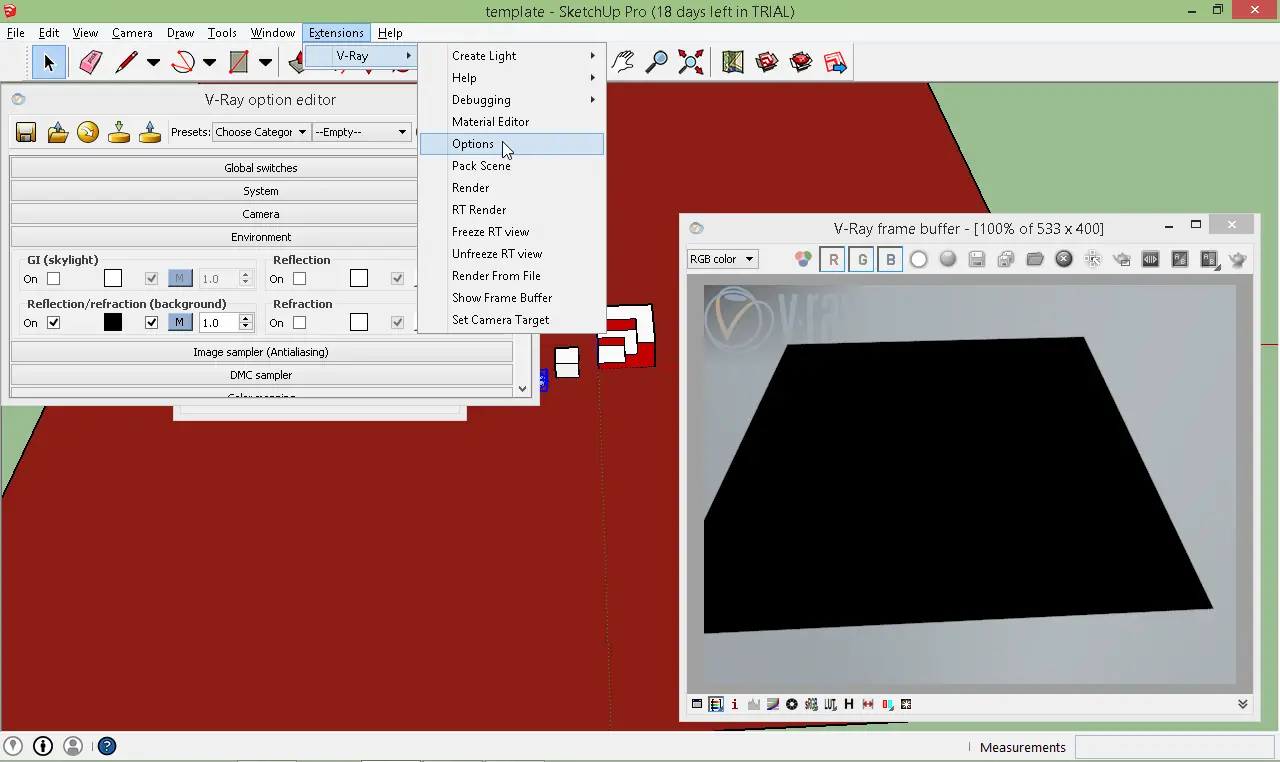
A look at the Options in the extensions menu shows us the V-Ray options editor. Here, the environment tab has a GI skylight option which is a general light source, enabled by default to project a virtual skylight over the open space. Disabling it, produces the completely black render as if, it’s night time without the moon to produce any glow/radiance at all.
Enabling it back on, will give us the previous test render, with everything visible & a cast of shadows. Let’s turn it back on & get the test render version back:

Note also, the GI skylight is light blue in color, since it is a primary color of light & the sky that we are used to in real life, we get a realistic looking render in terms of colors, shades & hues.
Step 5
Let’s enable the light & tinker with the settings to see how the lighting system works. First were going to enable the light. Second well increase the intensity and do a test render:
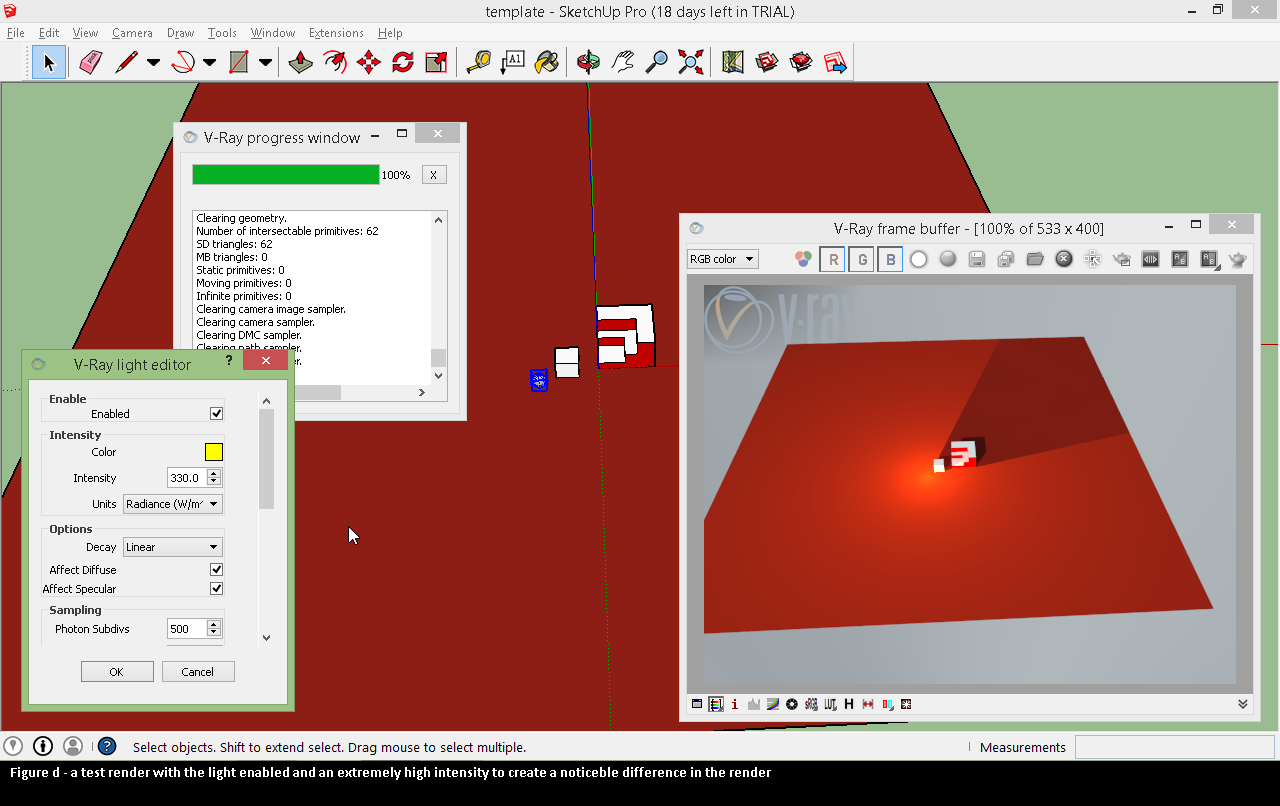
As discussed before, an Omni light projects light all around & since its yellow in color, the spot nearest to the ground gets illuminated just a little to the left of the center, the same way the light is placed. The intensity of the light projects the shadow to the far end corner, a lower intensity will obviously cause a smaller shadow. The test render for that, well leave up to you, as every little detail cannot be covered in a single tutorial entry & neither can you learn everything about the lighting system in one go. For that you’ll have to experiment.
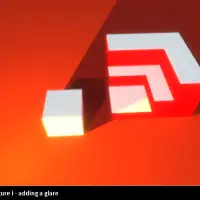
Figure (e) shows a much clearer close-up of the render of the objects, and if I do say so myself, the cascade of the shadows and the details make it seem just absolutely beautiful. This is why, V-Ray is my choice & the choice of most of the SketchUp designers & artists looking for amazing, life like renders of their designs.

The box’s shadow & the shadow of the logo-demo are clearly separate, with the logo-demo’s shadow on the top-right corner slightly visible because of the angle of view. The first step of the logo-demo also has the yellow hue in part, with the rest of the step taking on the shadow of the cube in the way of the light source.
Final Thoughts
Congratulations on finishing this tutorial on how to render in Sketchup. Stay tuned for more tutorials! If you have any questions, please leave a comment below.
Leave a Reply