With SolidWorks we have the SolidWorks Explorer that is meant to make your job easier when it comes to renaming parts and files apart from the regular features such as categorical and hierarchical viewing of the assemblies and parts included in the project. Now, before we talk about how to use SolidWorks Explorer to alter the file names, let’s understand one thing. And that is, why changing the names and attributes will cause your drawings to malfunction.
Behind the Scenes
 The thing to consider are arbitrary references. This basically means that a drawing in SolidWorks is interpreted in a subjective context as opposed to an objective view of the whole project. Even though the files and parts visually reside in the same project, essentially they are spread over the virtual workspace, that is your RAM and the virtual sandbox that SolidWorks creates for itself in the background during runtime.
This means, that if you happen to change the name of file or part or assembly, the references do not get updated. SolidWork does not create a table or record set of every single instance of the name/references usage hence one single update in the name will basically tell SolidWorks that you have a part by the new name, but when it tries to identify the older references, the older name will through it off course.

SolidWorks will be looking for the same file while using the old name to look for it. For this purpose, refactoring tools are provided in such reference based software packages whether for CAD or in IDEs.
The How To
So let’s take a look at how to rename or refactor parts in SolidWorks Explorer.
Open SolidWorks Explorer.
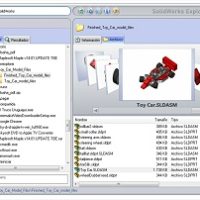
- In SolidWorks, open the Tools menu and select “SolidWorks Explorer” (fig. a)

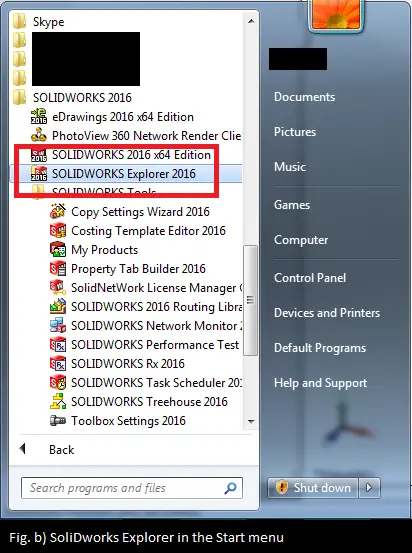
- This can also be accessed from the start menu in the SolidWorks menu (fig. b)


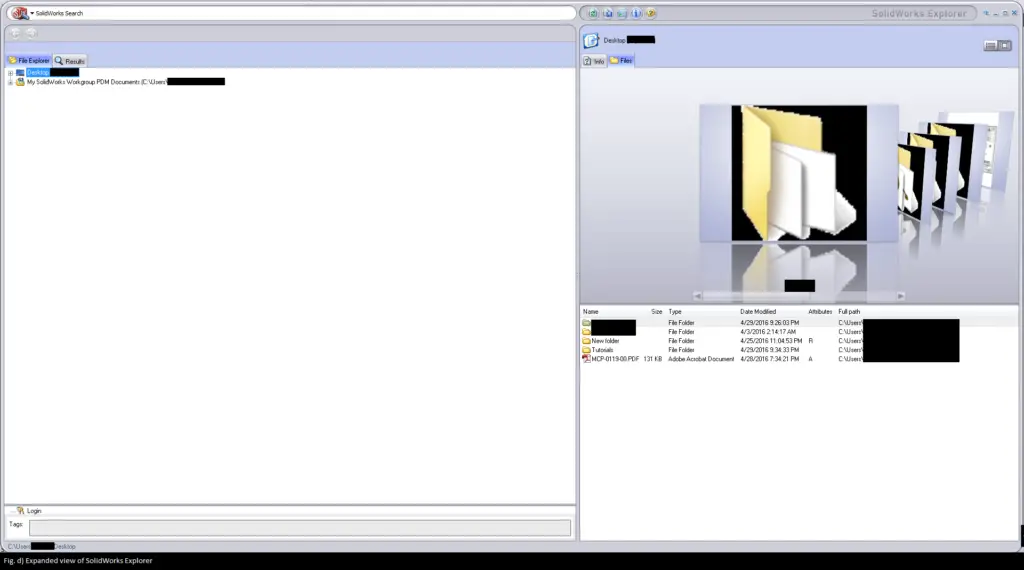
SolidWorks Explorer’s initial view is in the collapsed form (Fig. c)
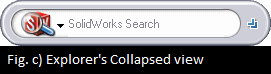
Click the two arrows to the right to expand the view for further options, to access the rename functionality (Fig. d)
Now first look for the files that you wish to rename. Make sure these files are not currently open in SolidWorks.
Select the files one by one and on each, right click to access a small context menu with the following options:
The option with one faded block is the rename option as highlighted in the figure (Fig. e)
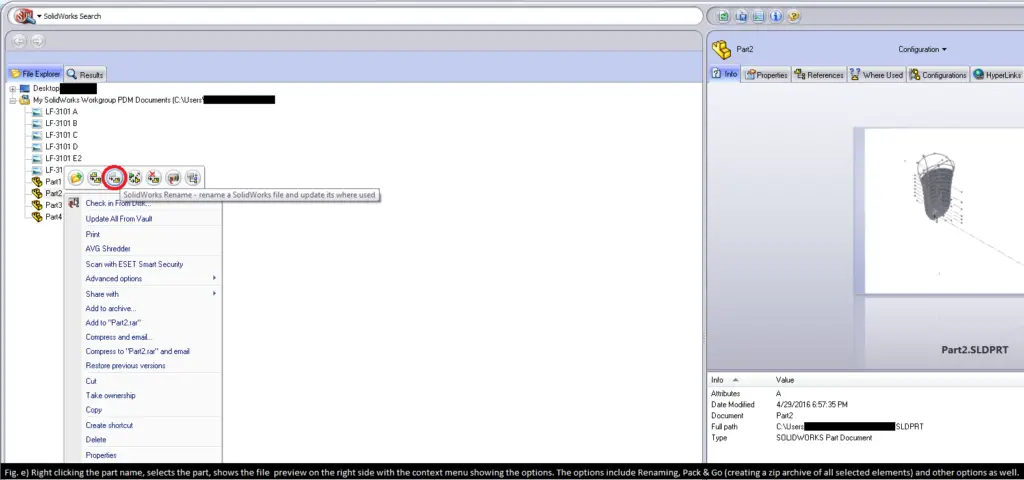
Use the “Rename” option to rename the file that you want and have all the references updated ensuring that none of the referred entities lose placement and are coherent throughout the project. Clicking the ‘Rename’ option opens up the following window (Fig. f)
The “update where used” option will allow the file’s references to be updated with the file names change maintaining the references coherency. Be sure to select this option, which will also show all the references in the window box right beneath it.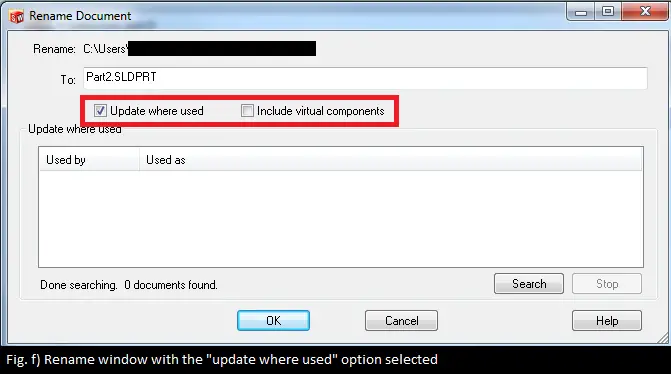
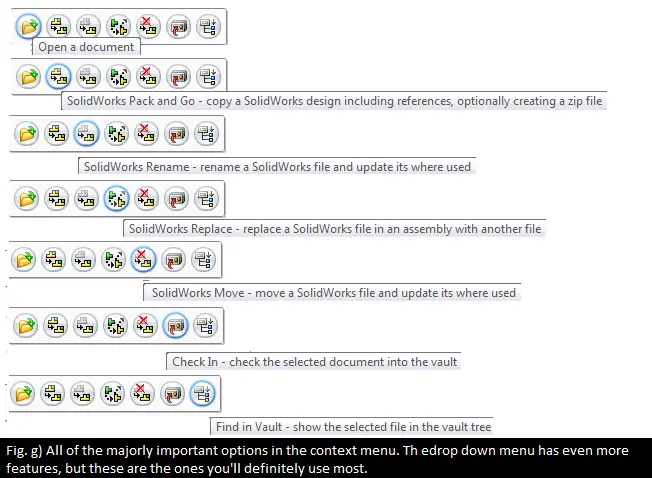
And that’s it. Enter the new name in the “To:” box and click “Ok” to have all the items updated with the new name. Check out the below figure to see the rest of the major actions that can be committed from the context menu.
Conclusion
It’s a mundane and common task (not for every project but for CAD in general) to have to rename parts, files and assemblies within the project. And that is made even more difficult if the project’s scope makes sharing the drawings and files an inescapable task.
For this very purpose almost every CAD software has a either a tool, wizard or built-in function that allows refactoring, the term used for a broad range of manipulator functionality including renaming. So remember to always use the provided tools (Explorer in the case of SolidWorks) for such potentially desctructive tasks.