
Pattern is one of the most common features used in CAD software. Here is a simple step by step tutorial about creating circular pattern of features in CATIA.

Creating pattern of a single feature:
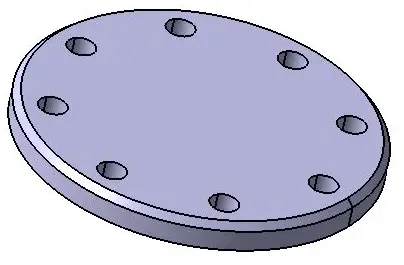
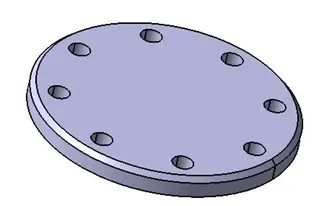
Lets create a circular pattern of Holes on a disc like shown on the image below.
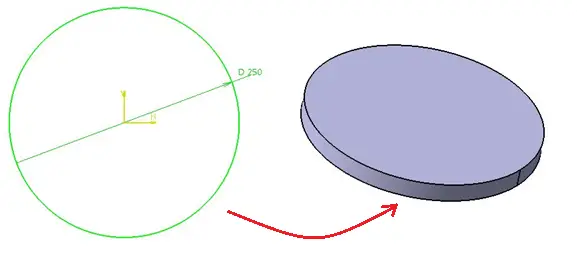
Step 1
Create a disc as shown on the figure and Extrude it. If you are not familiar with the EXTRUDE command in CATIA, I recently had this tutorial on CATIA where I have shown and talked more about it.
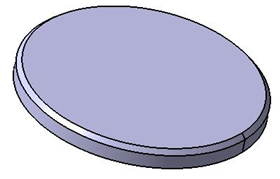
Step 2
Give chamfer to the edge with suitable dimensions.
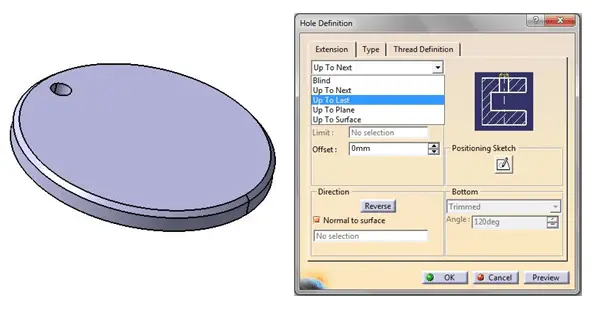
Step 3
Now create a hole of diameter 20mm on PCD (Pitch Circle Diameter) of 100mm. If you want to create a through hole, always try to make use of Up To Next or Up To Last options. Both options give different results. You can see the type of result you may get, in the right side of the dialog box.
Step 4
Creating pattern:
As you can see, there are total 8 holes we want to create. It will be a tedious and time consuming task if we try to create each and every hole using Hole Definition. Instead of that CATIA gives you an option to use Pattern feature which requires very less time to create. Also, it has advantages like, it is easily editable. If there are 9 holes instead of 8, you just have to change a number and the whole pattern will get updated.
To Create a pattern of hole.
- Select the hole by clicking on it.
- Now, in the transformation Features toolbar, you will find Circular Pattern option.
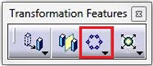
There are options like Rectangular Pattern, User Pattern; but in this case, we want a circular pattern. Click on Circular Pattern option.
A dialog box will open as shown.

holes will be spaced equidistant to one another and they cover 360 degree angle.
In parameters, select Complete crown. In the Instances, as there are total 8 holes, select 8. Here, Reference element means the axis of the pattern. Select appropriate axis.
At the same time you will be able to see how the holes are getting placed.
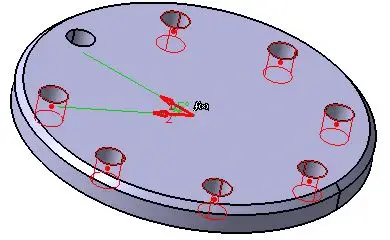
If you can see the image above, click OK. The part is now ready.
If we know the angular spacing between the holes, then we can also use Instances & Angular spacing option under Parameters. Suppose in a pattern, you don’t want a particular hole, then before clicking OK, click on the hole and that hole will get deselected from the pattern.
This was the case with Hole feature. If instead of just a hole, there is a chamfer at the face of hole and you want to pattern that chamfer too along with hole. In this case, you have to select both chamfer and hole using Ctrl button and then click on the pattern.
It is always possible to select the features for pattern after clicking pattern command, but make it a habit to select features earlier, as it is quiet difficult to select multiple features after clicking Pattern command.