Before getting into how to bring your point cloud drawings into AutoCAD, let’s talk about its context. First, a point cloud, for those of you who don’t know is a set of points, in any coordinate-based mapping system. In 3D, the X, Y & Z represent the three dimensions, and a point with coordinates x,y,z would be plotted or mapped as P(x,y,z).
This can help map out the entire external surface of any 3D object by devices such as 3D scanners or even 3D printers. Hence, it’s no surprise that AutoCAD drawings may need exporting to point clouds and vice versa. Today we’ll be looking at how to import point clouds into AutoCAD.
The first thing that needs to be understood is how the importing is handled. Then come the file formats and the importing options. In actuality, AutoCAD only supports two file formats, namely .rcs & .rcp. This is because AutoCAD ReCap does all the point cloud (de)modulation. The following table lists all file formats as supported in AutoCAD ReCap.

| Desc | Property |
| ASCII ASC Files (*.asc) | Import only |
| Autodesk Point Cloud (*.pcg) | Import only |
| Autodesk ReCap Scans (*.rcs) | Import only |
| Autodesk ReCap Projects (*.rcp) | Export only |
| E57 Files (*.e57) | Import/Export |
| Faro FLS Files (*.fls) | Import only |
| Faro FWS Files (*fws) | Import only |
| Faro Project Files (*.lsproj) | Import only |
| Faro XYB (*.xyb) | Import only |
| Leica PTG Files (*.ptg) | Import only |
| Leica PTS Files (*.pts) | Import/Export |
| Leica PTX Files (*.ptx) | Import only |
| LiDAR LAS Files (*.las) | Import/Export |
| Riegl Files (.rds) | Import only (3D only) |
| Text Files (*.txt) | Import only |
| Topcon CL3 Files (*.cl3) | Import only |
| Topcon CLR Files (*.clr) | Import only |
| XYZ Files (*.xyz) | Import only |
| Zoller&Frohlich ZFS Files (*.zfs) | Import only |
| Zoller&Frohlich ZFPRJ Files (*.zfprj) | Import only |
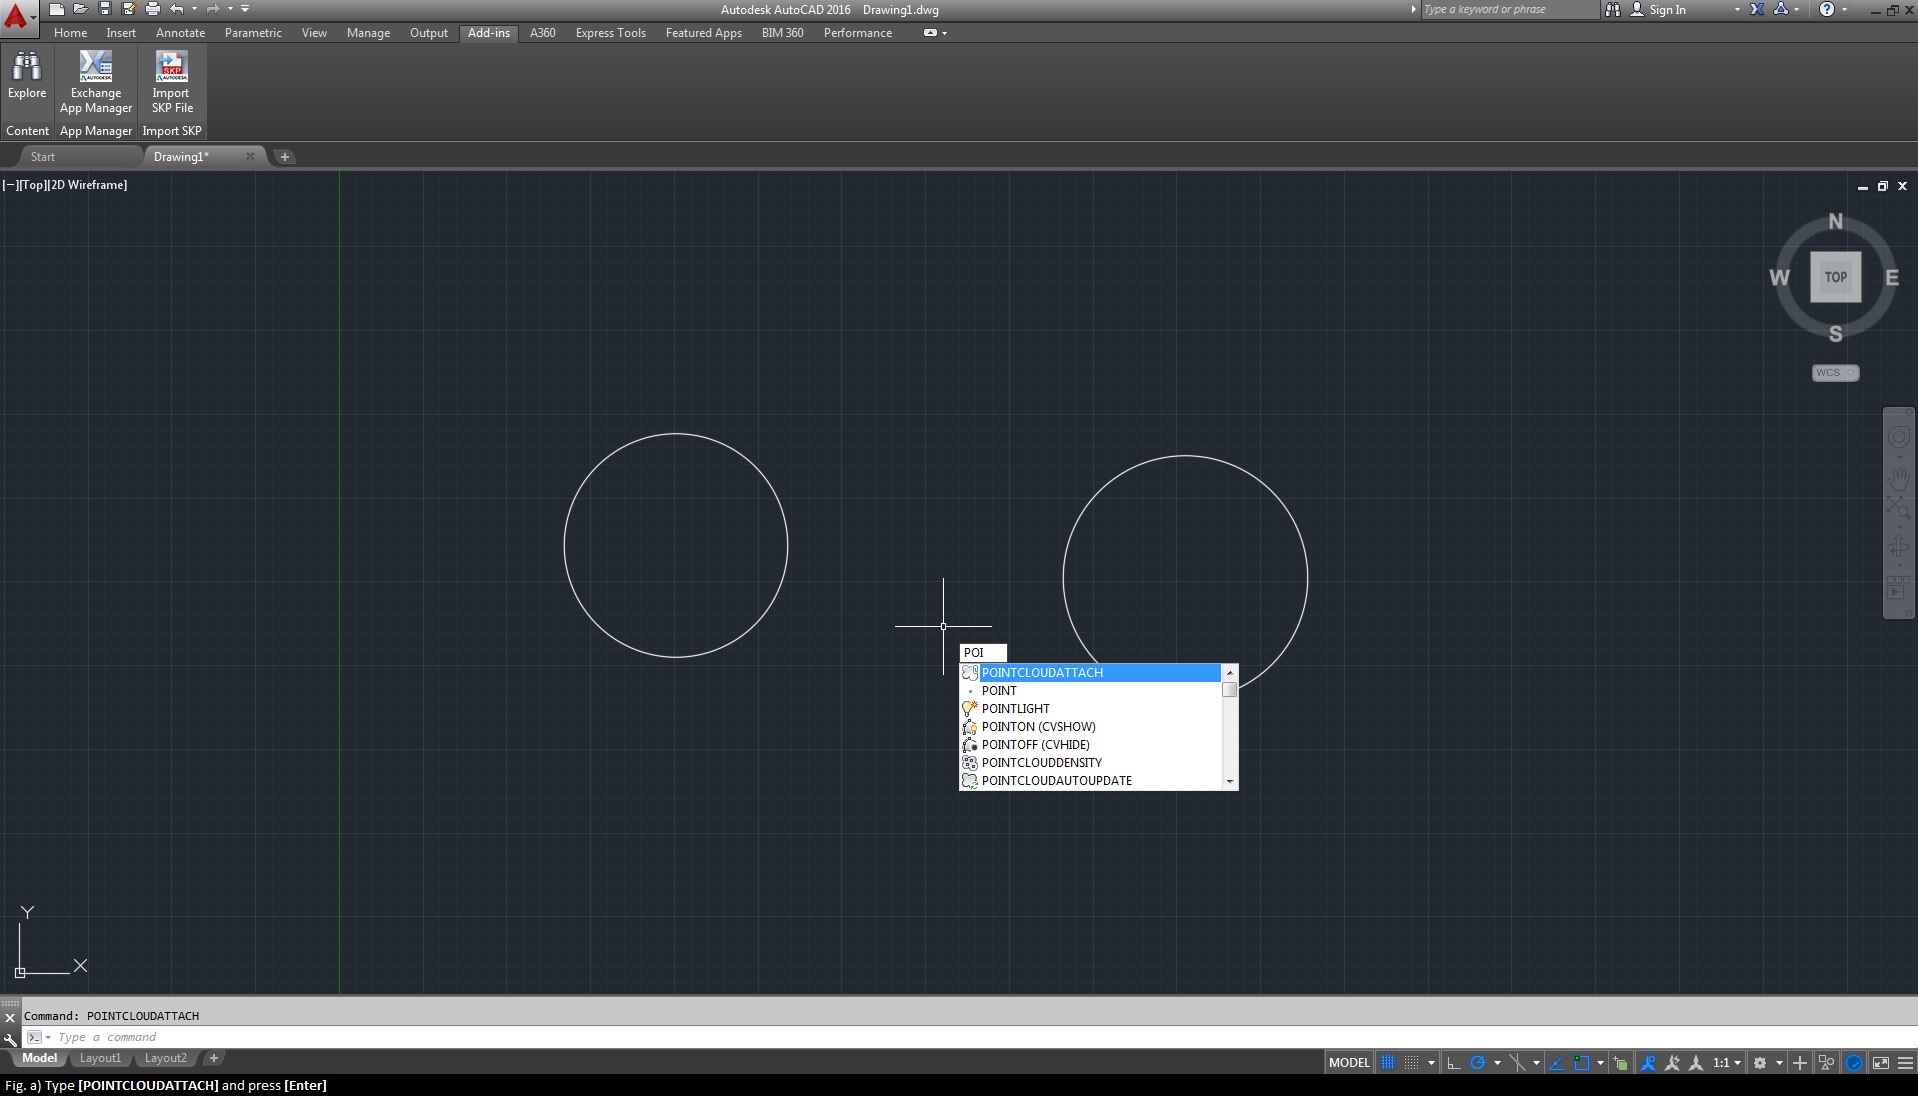
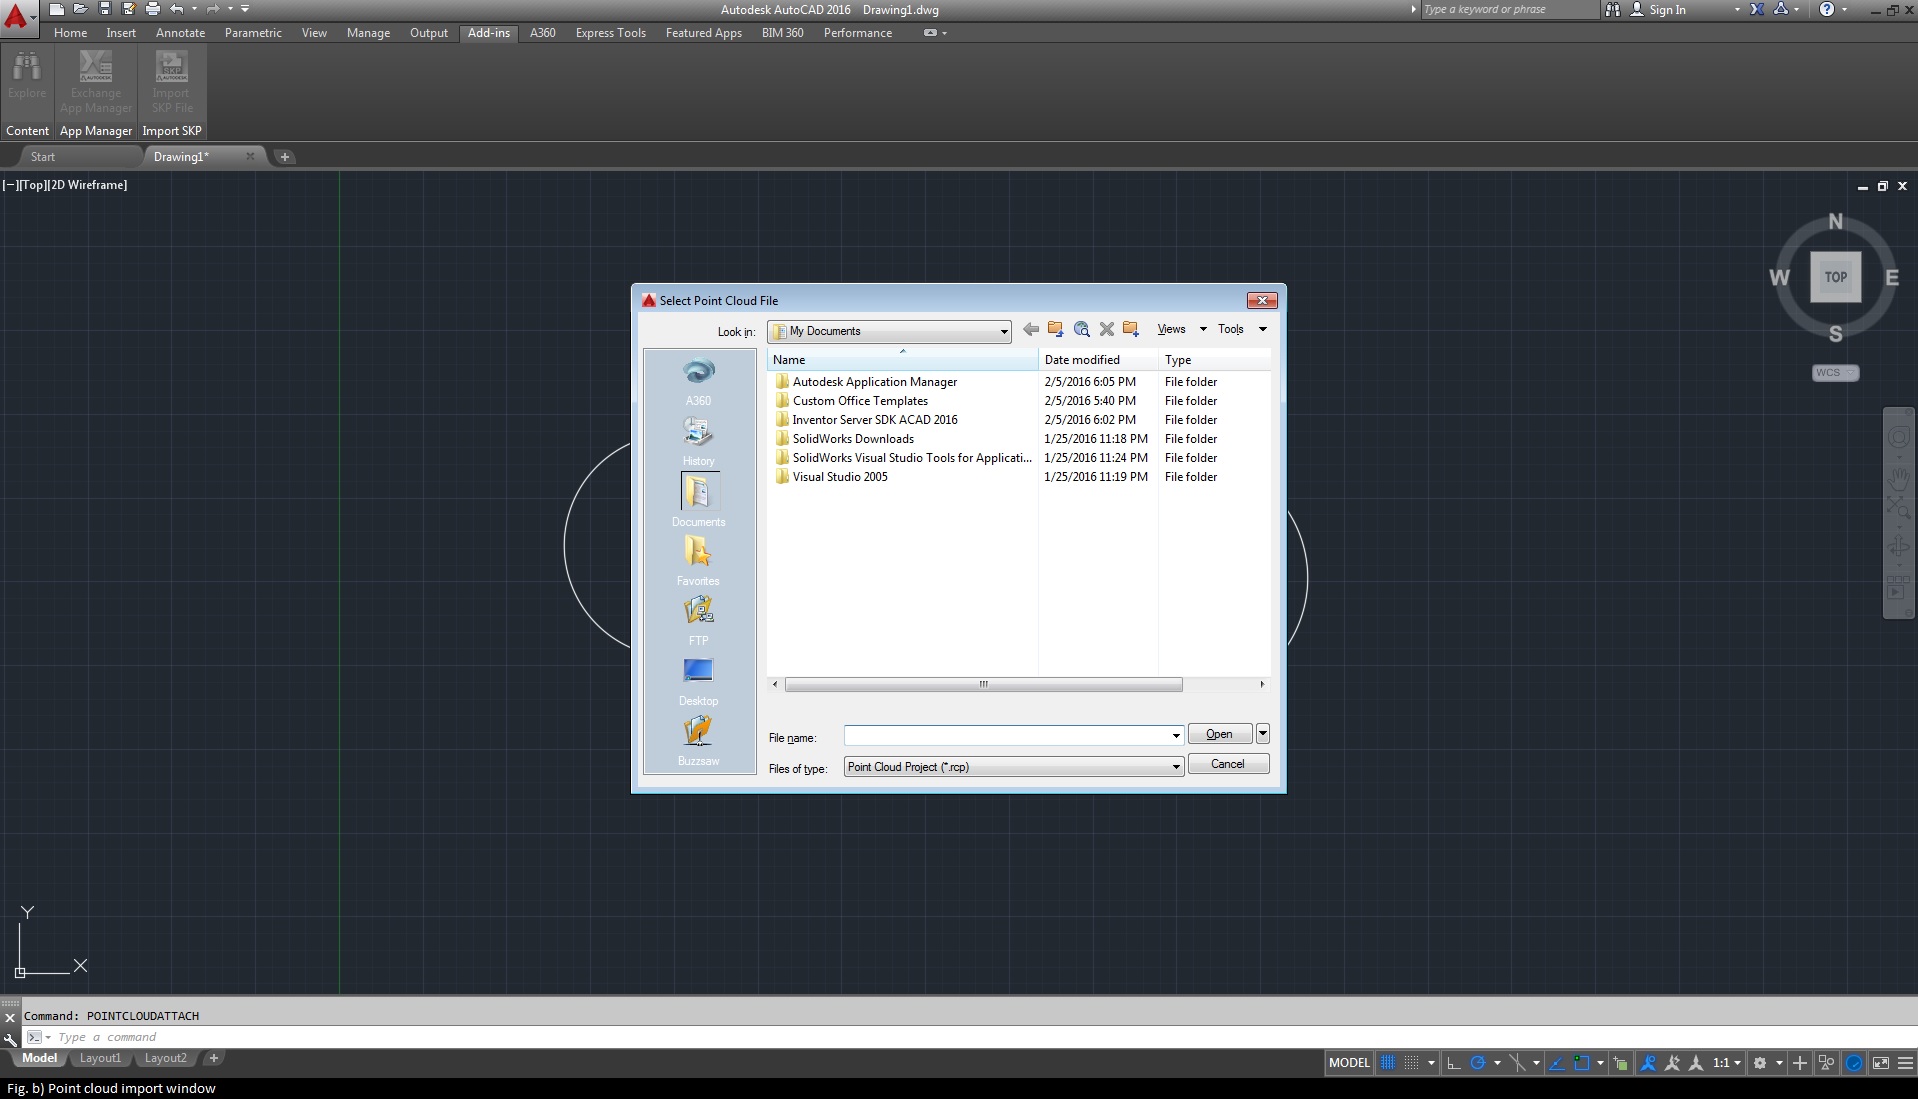
Now in order to use the ReCap function, you’ll first have to import your point cloud and then convert it to an rcp (ReCap Project) extension format or an rcs (ReCap Scan) extension format. After that just type [pointcloudattach] as shown below (fig. a) and that will open up the next screen asking for the rcs/rcp file (shown below in Fig. b)
Note: you can click on the images in the tutorial to view a zoomed in version.
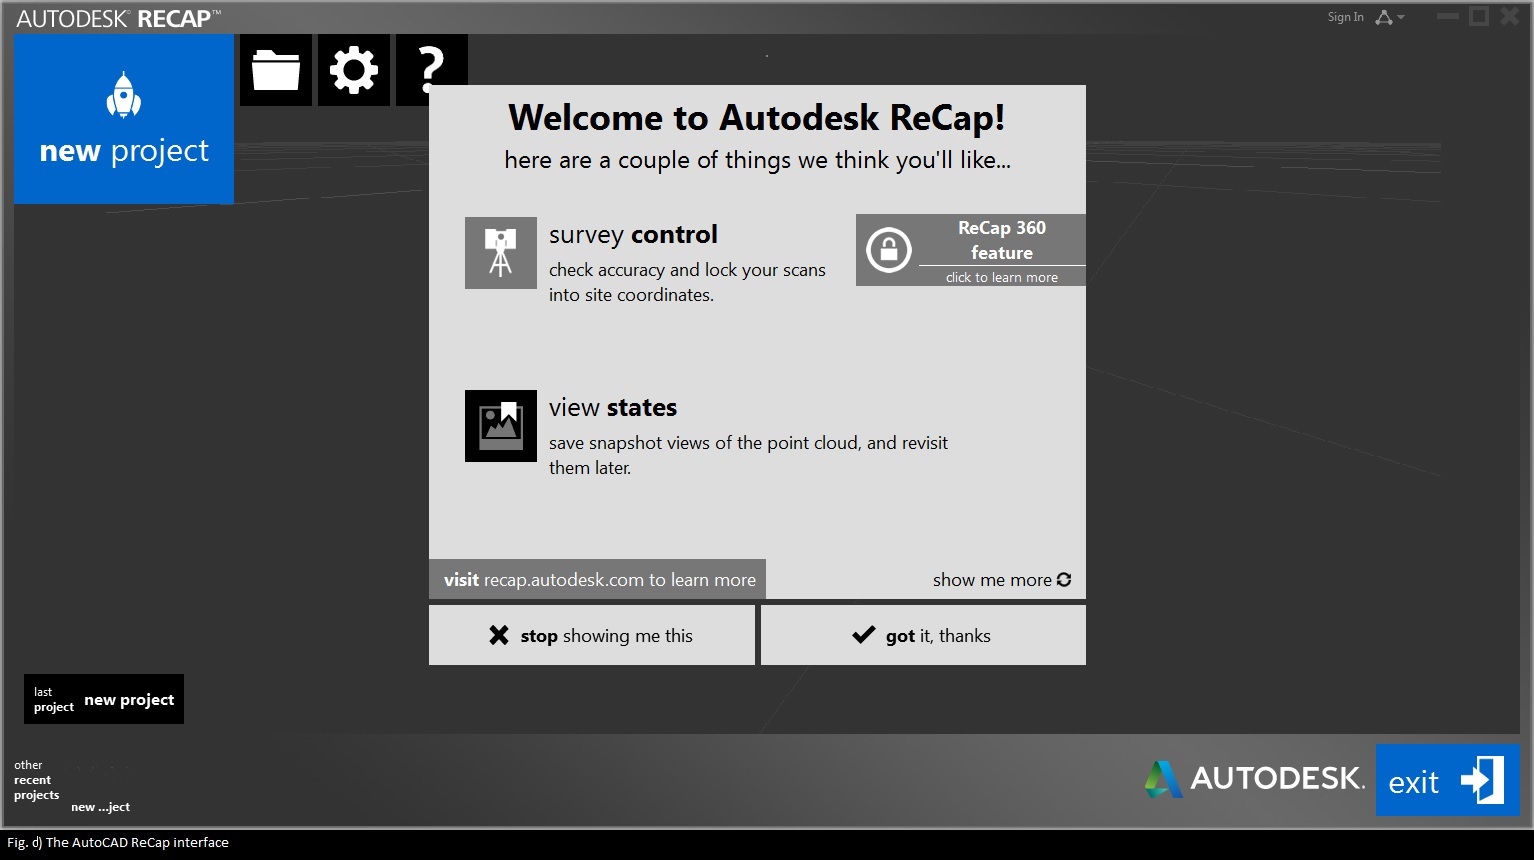
From here on, let’s talk about how to use the ReCap software to convert point clouds to rcp/rcs formats for any of Autodesk’s products. You can launch the ReCap application from the ribbon as shown below (Fig. c & d).
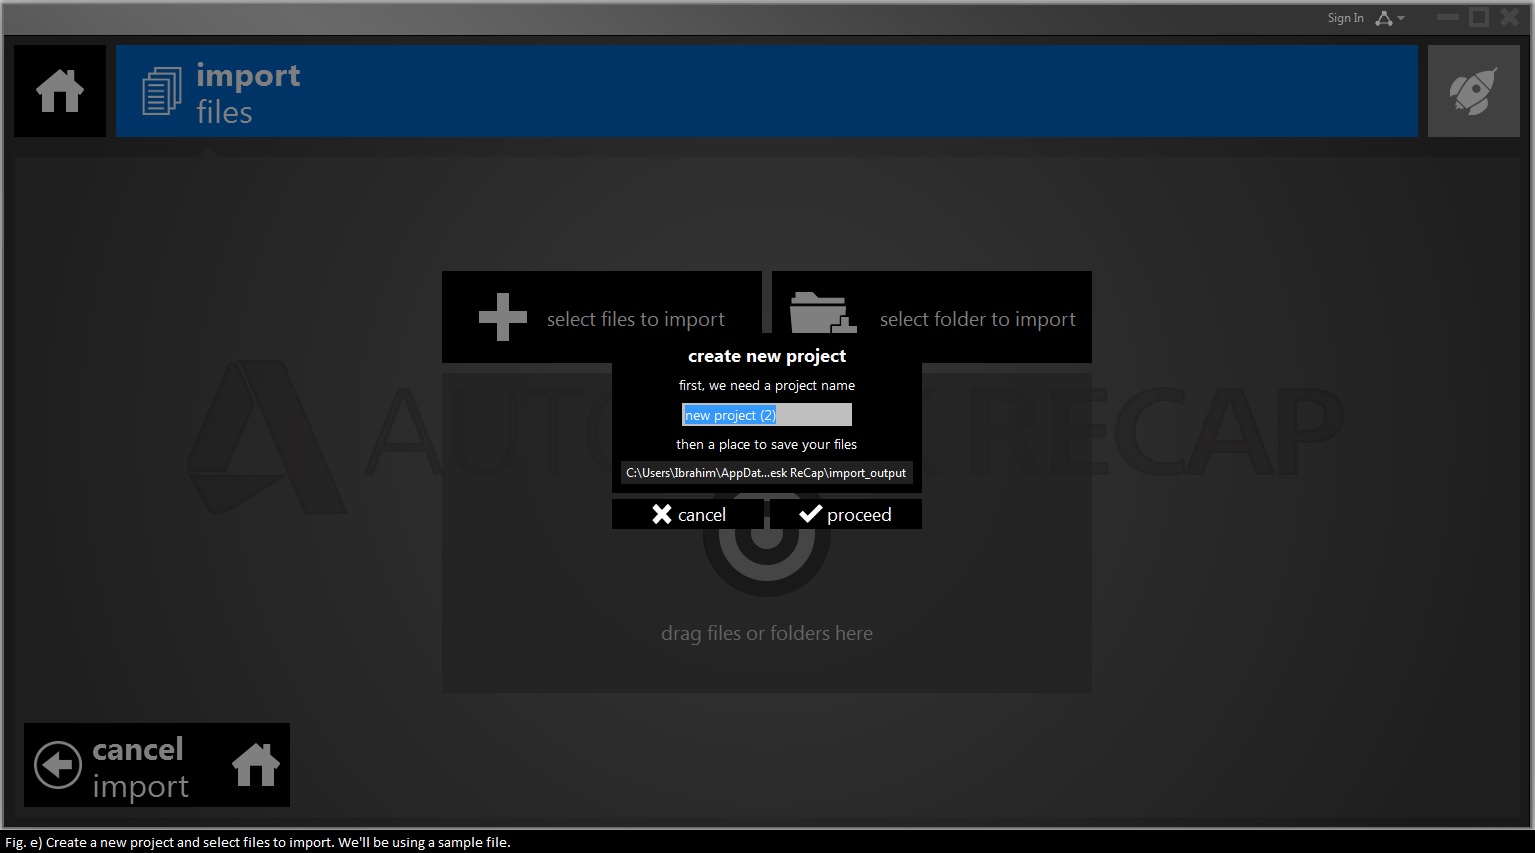
Create a new project like below (Fig. e)
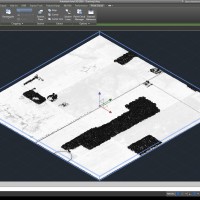
Now launch the project. When you do, the point cloud set will be displayed on the canvas. See below (Fig. g).
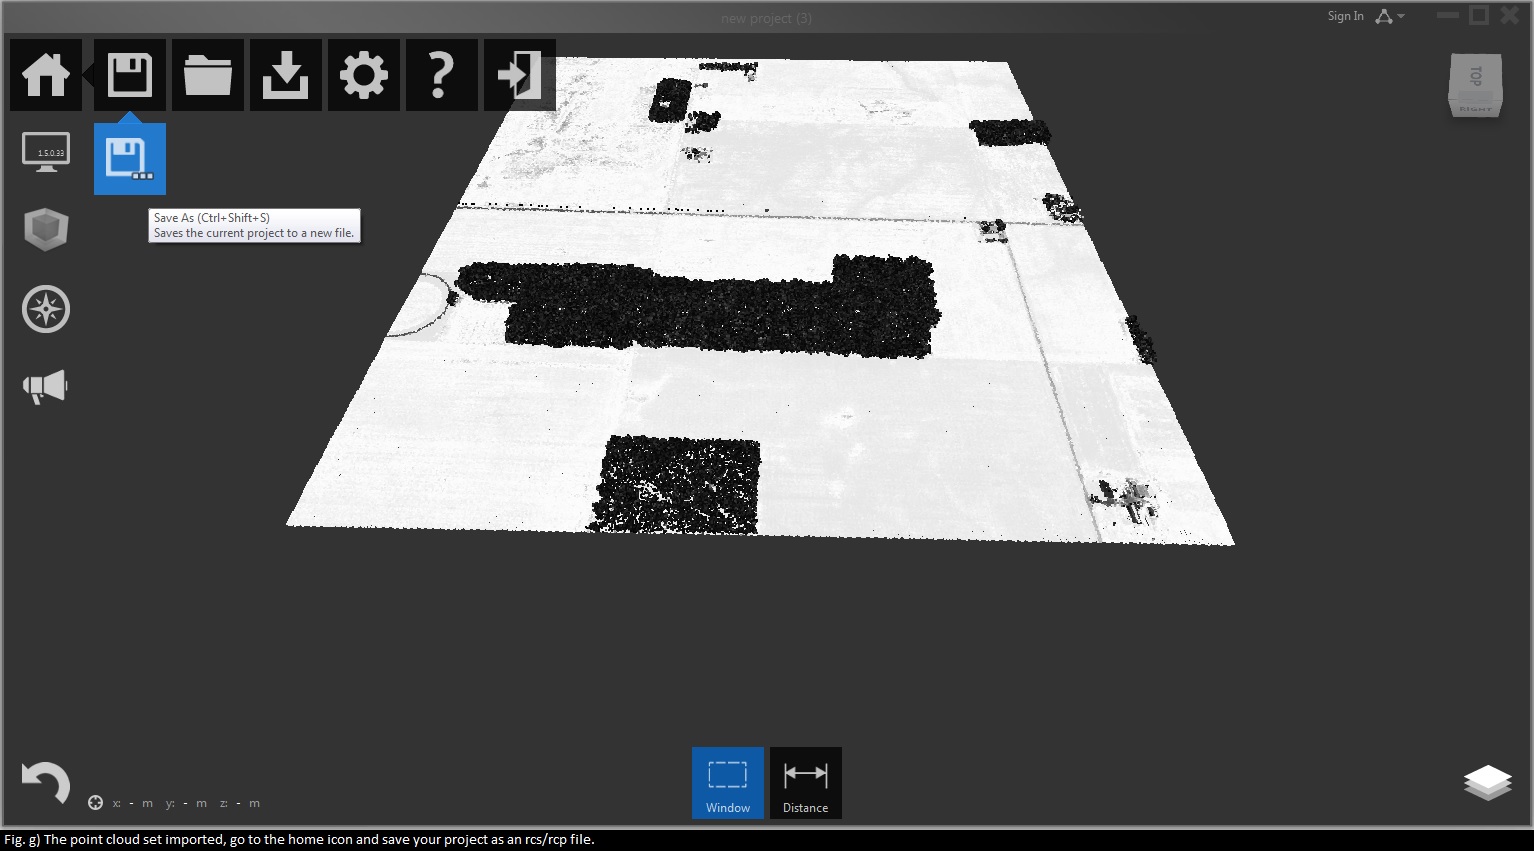
Now you can save this as the rcp/rcs project and import into AutoCAD how it says in the start. Check it out below (Fig. h).

For the curious AutoCADer, the Autodesk ReCap product is designed for the entire suite. So whether you’re coming from Revit LT or Inventor or another of Autodesk’s CAD/CAM/BIM products, you can use ReCap to import/export from/to any of the above mentioned formats of point cloud and 3D mapped data. With the latest trend in 3D printing, the desktop versions can be used to create solid constructions of any of your designs.